Set up your Jezweb email in Outlook on Mac
The screenshots below are from an earlier software version — buttons may look a little different on your device, but the steps and settings are current.
This guide adds your Jezweb-hosted email address to Outlook for Mac. You’ll need the email address and password we sent you — if you can’t find them, email us and we’ll resend them securely.
Your settings
| Setting | Value |
|---|---|
| Account type | IMAP |
| Incoming server | ax.email |
| Incoming port | 993 (SSL) |
| Outgoing server | ax.email |
| Outgoing port | 465 (SSL) |
| Username | your full email address |
| Password | your email password |
The steps
-
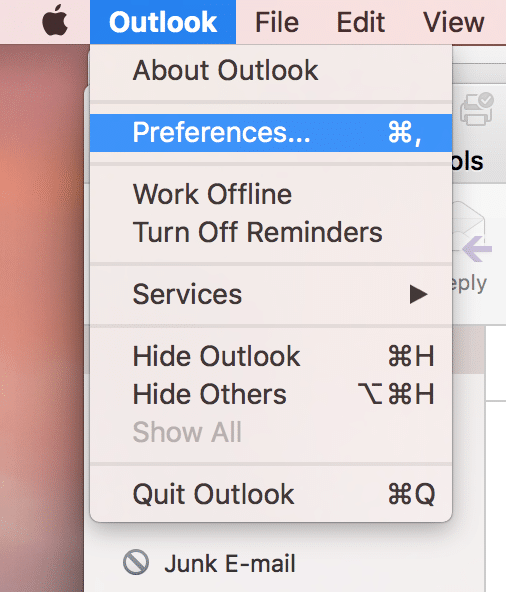
Open Outlook. If you already have accounts set up, go to Outlook → Preferences from the menu bar. If this is a fresh install with no accounts yet, skip ahead to step 3.
-
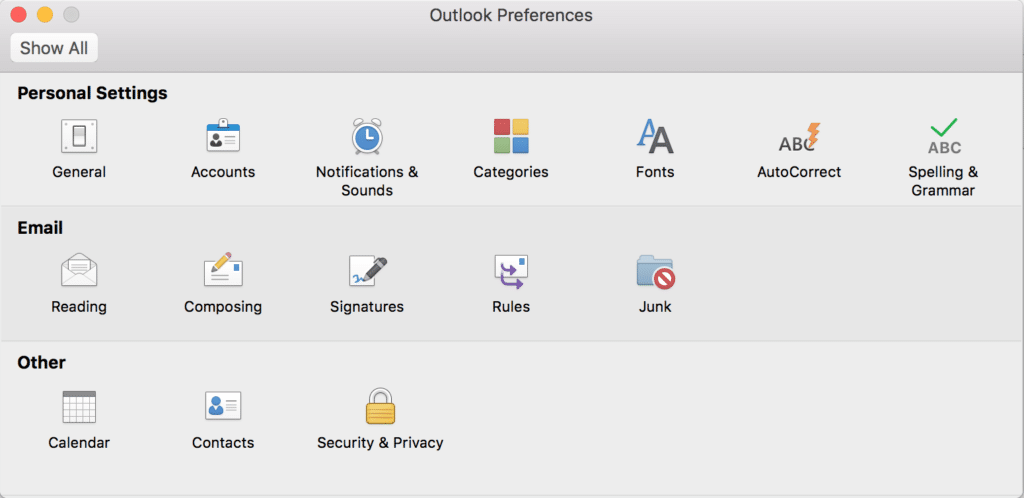
Click Accounts.
-
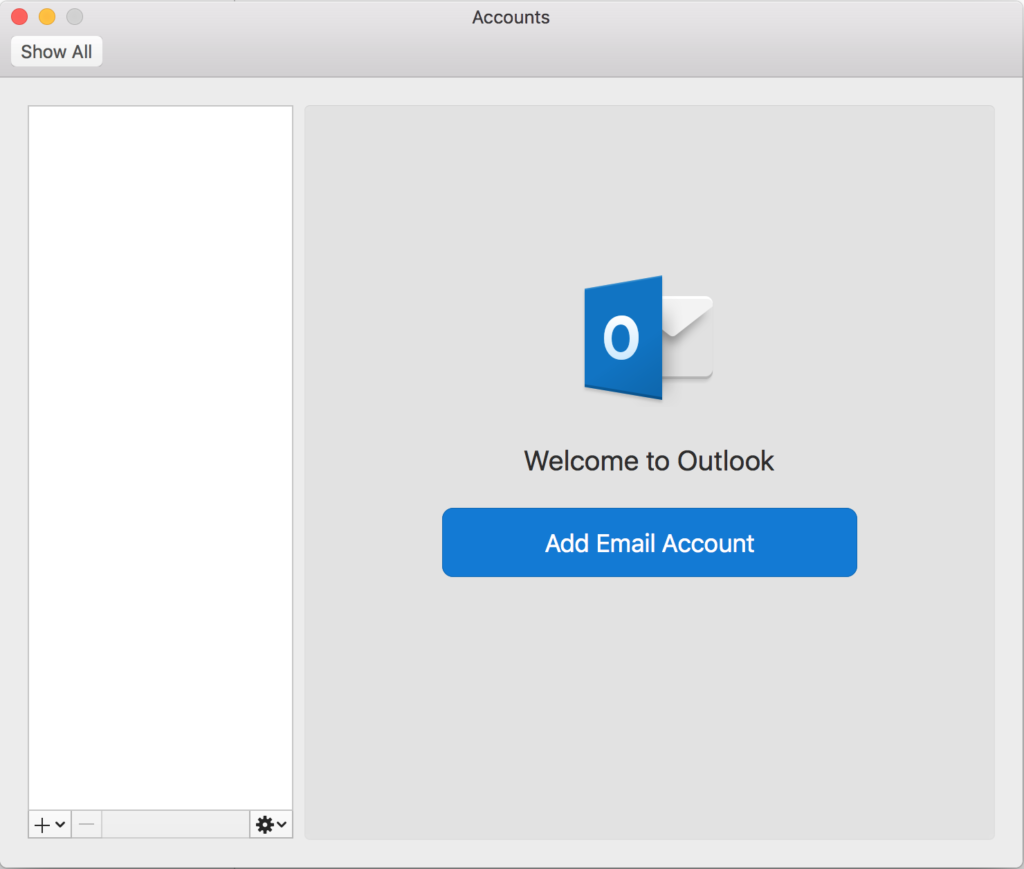
Click Add Email Account.
-
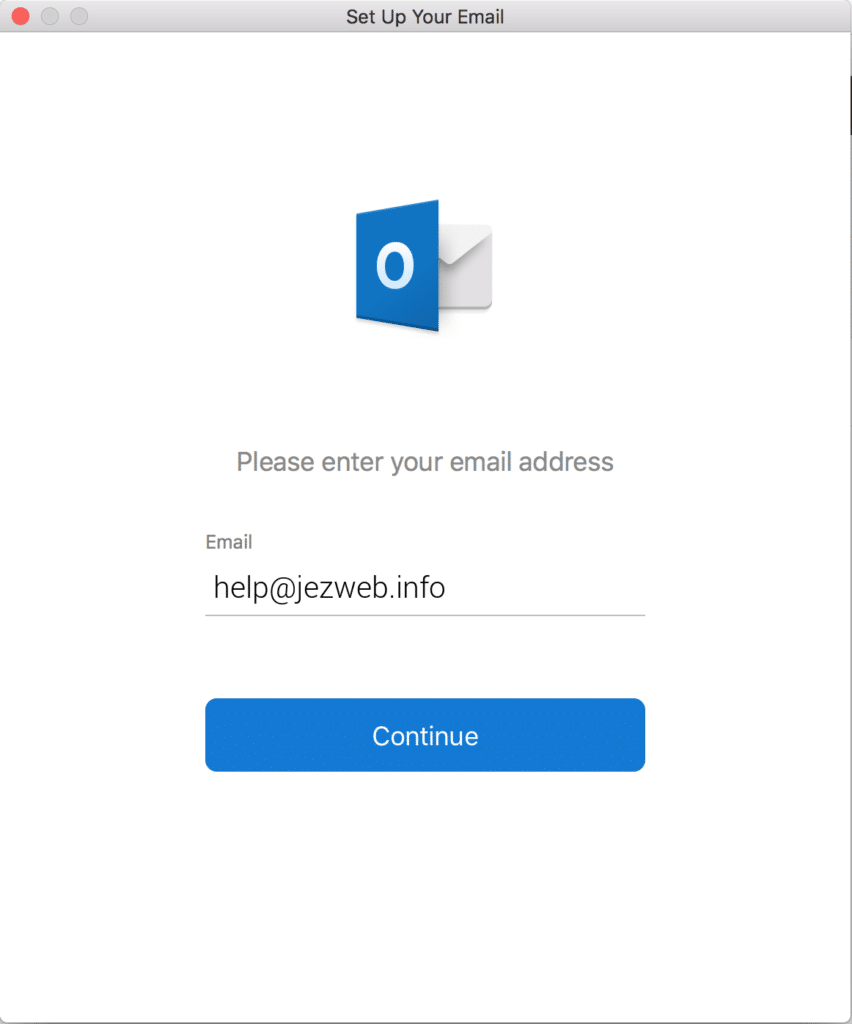
Enter your email address and click Continue. Outlook may try to auto-detect the provider.
-
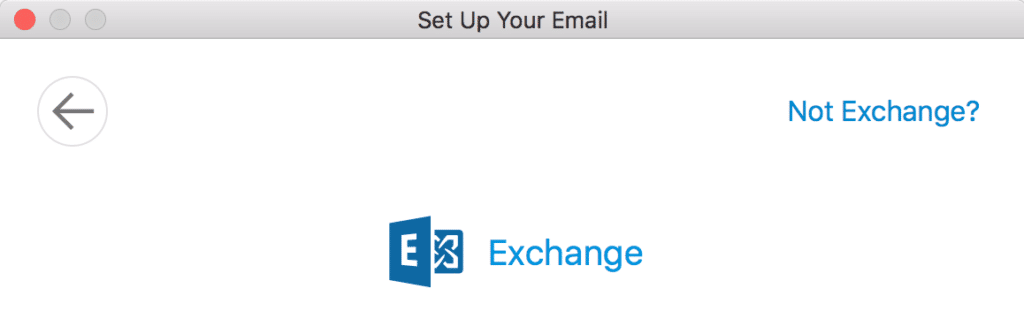
If Outlook selects Exchange automatically, click Not Exchange in the top right corner to switch the account type.
-
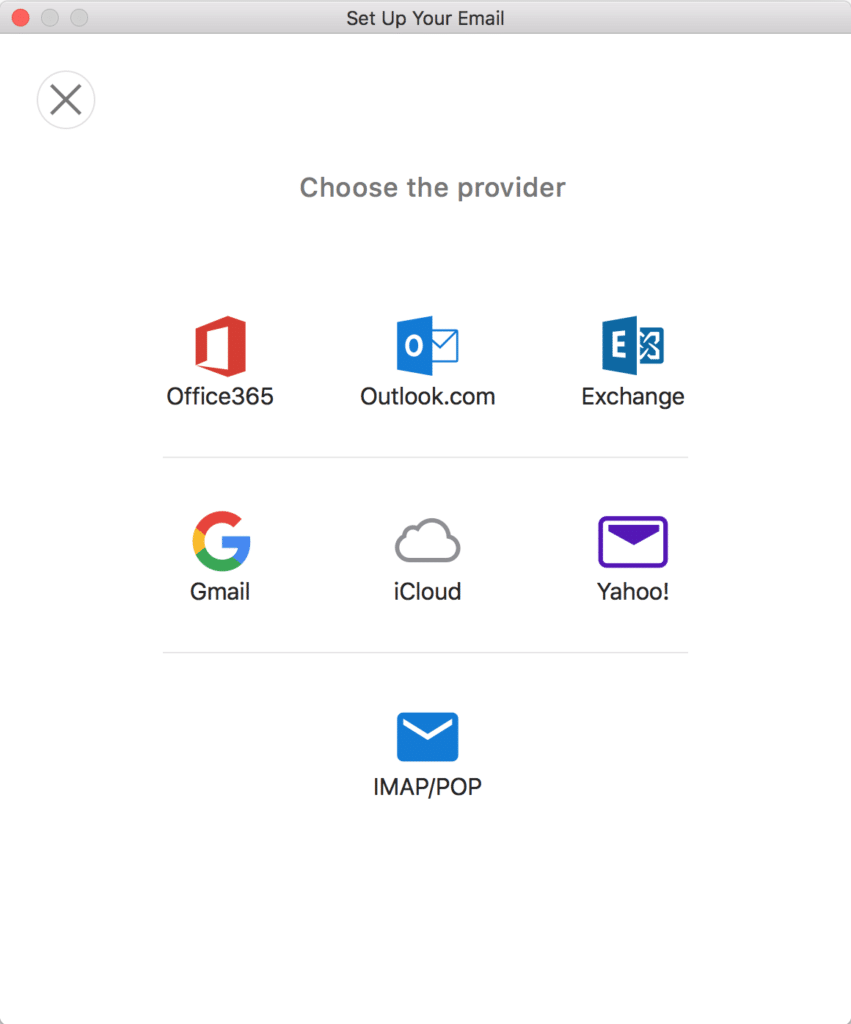
Select IMAP/POP at the bottom of the screen.
-
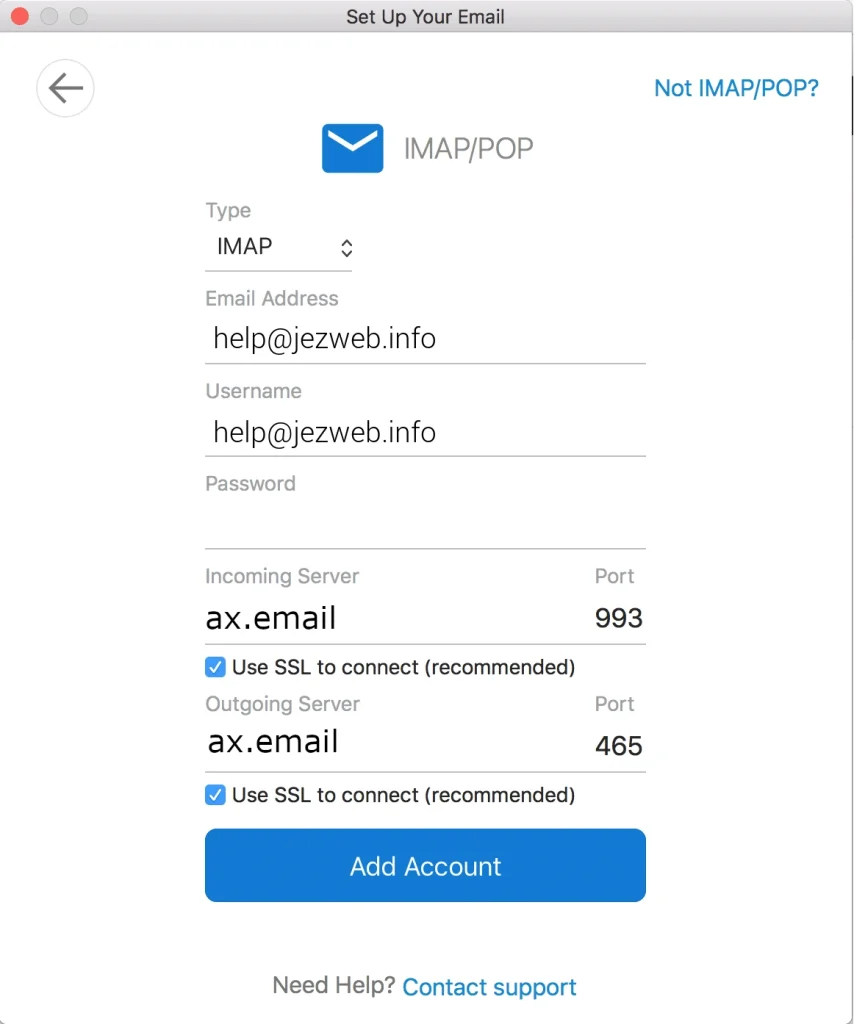
Fill in all the details:
- Type: IMAP
- Email address: your full email address
- Username: your full email address
- Password: your email password
- Incoming server:
ax.email· Port:993· Use SSL: ticked - Outgoing server:
ax.email· Port:465· Use SSL: ticked
Click Add Account.
-
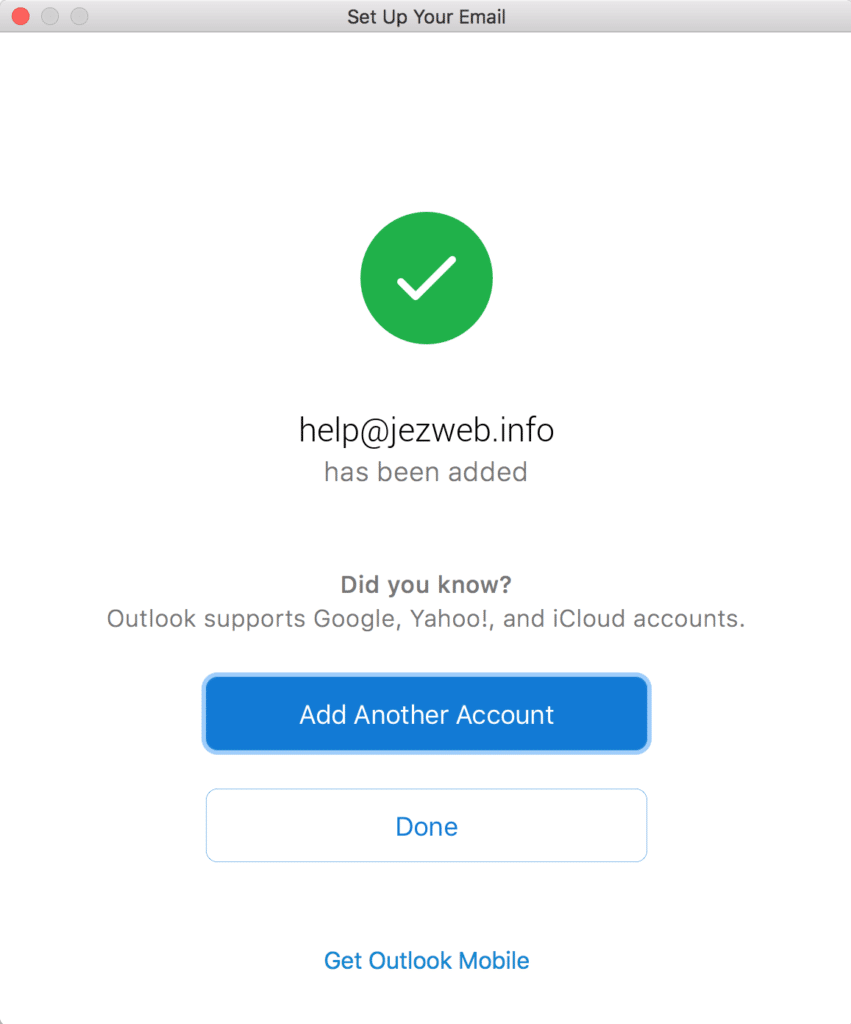
Click Done.
-
Your account is set up. Email will begin downloading — allow a few minutes on a busy mailbox before troubleshooting.
Sending not working?
Make sure both the incoming and outgoing server are set to ax.email and that Use SSL to connect is ticked for both. The username must be your full email address on both servers.
Didn't work, or not sure?
No worries — that's what we're here for. Tell us what step you got up to and what you saw, and we'll sort it with you.