Set up your Jezweb email on iPhone or iPad
The screenshots below are from an earlier software version — buttons may look a little different on your device, but the steps and settings are current.
This guide adds your Jezweb-hosted email address to the built-in Mail app on an iPhone or iPad. You’ll need the email address and password we sent you — if you can’t find them, email us and we’ll resend them securely.
Watch the setup
Your settings
These are the only details you’ll type — everything else is just finding the right screen.
| Setting | Value |
|---|---|
| Incoming server (IMAP) | ax.email |
| Incoming port | 993 (SSL) |
| Outgoing server (SMTP) | ax.email |
| Outgoing port | 465 (SSL) |
| Username | your full email address |
| Password | your email password |
The steps
On iOS 18 or newer? Apple moved app settings — go to Settings → Apps → Mail → Mail Accounts instead of steps 1–3, then continue from step 4.
-
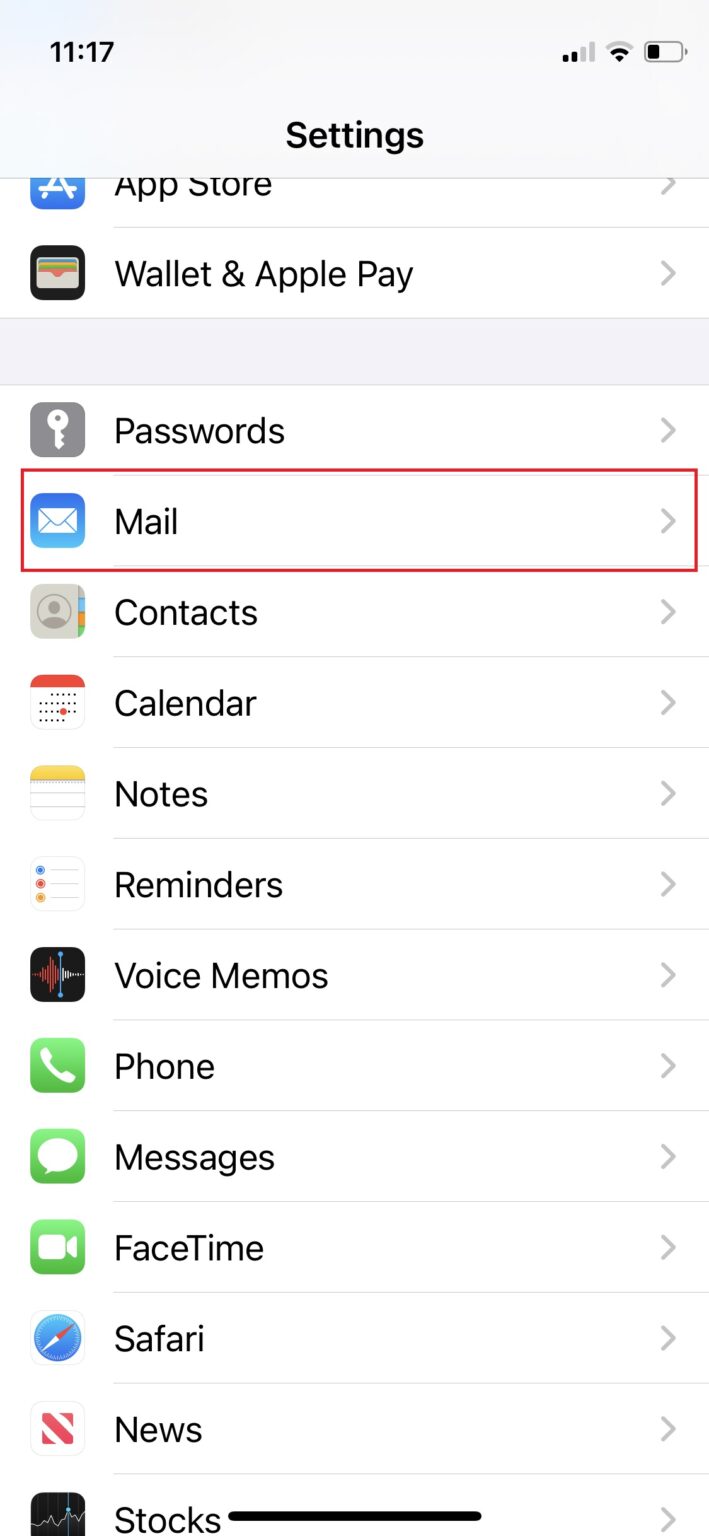
Open Settings from your home screen.

-
Tap Mail.
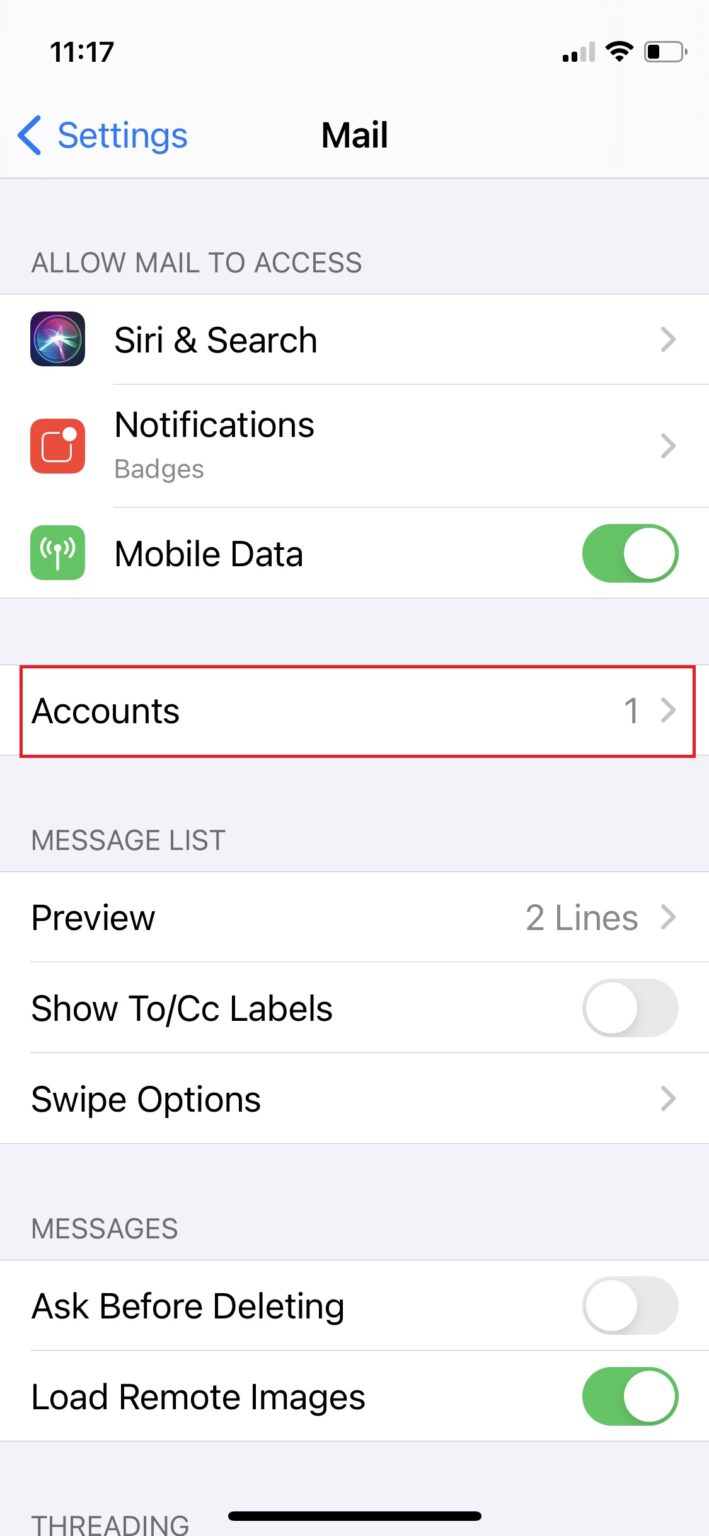
-
Tap Accounts.
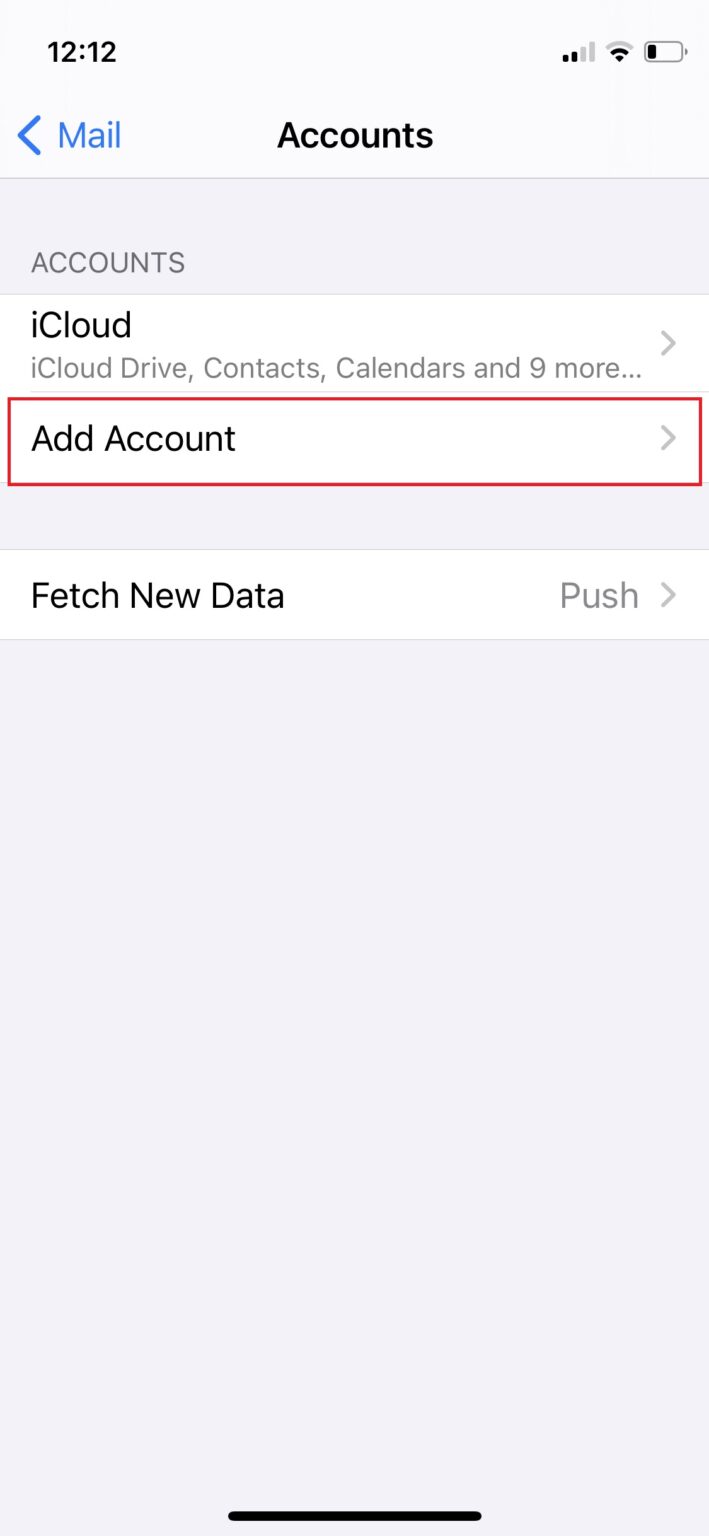
-
Tap Add Account.
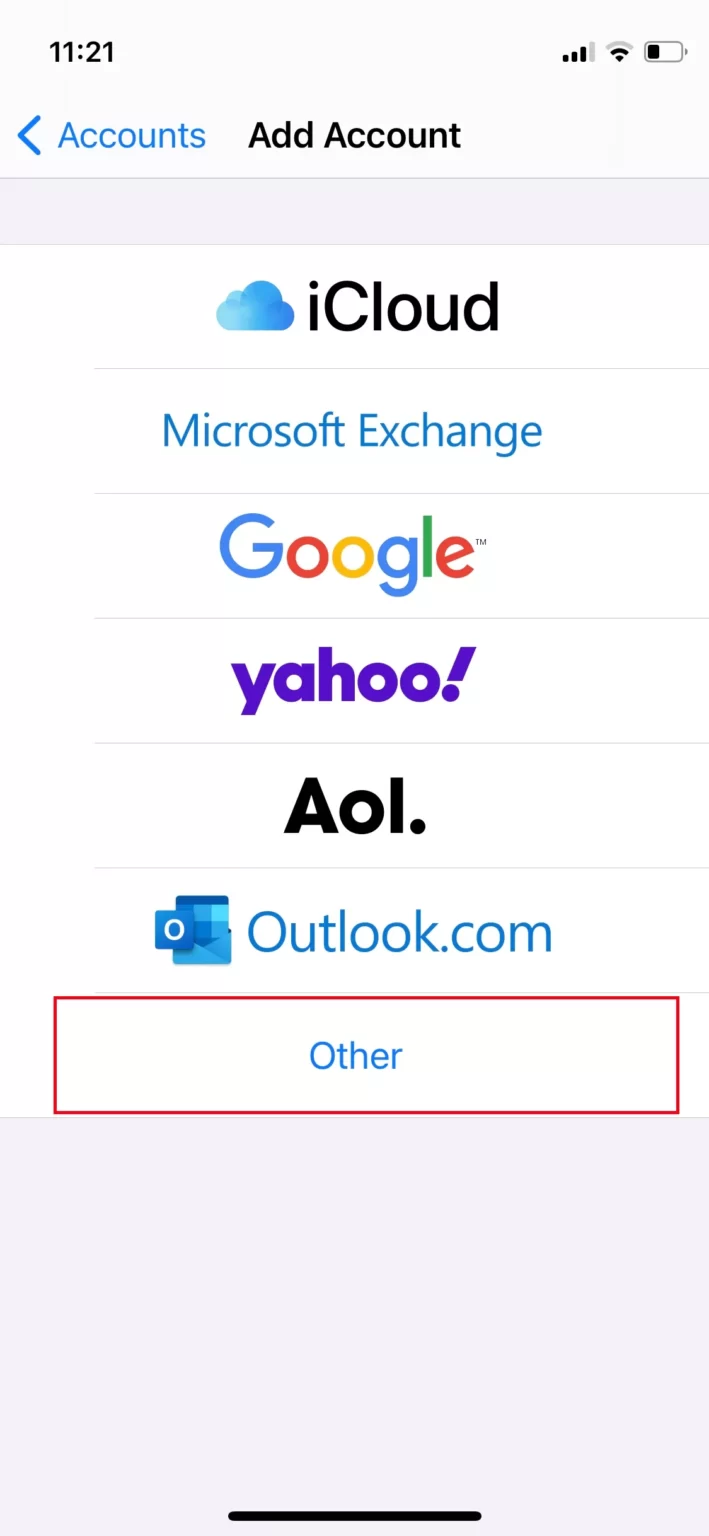
-
Choose Other from the list of providers.
-
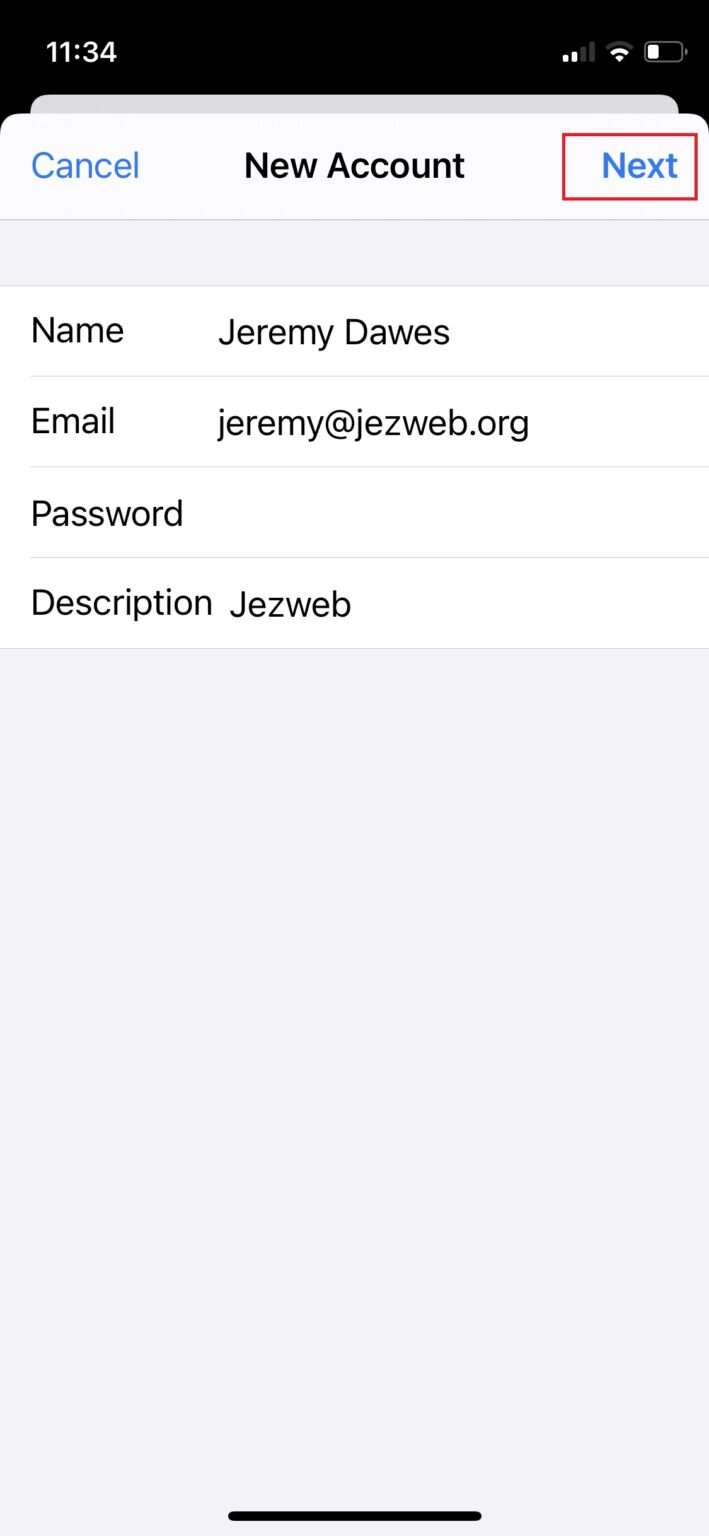
Tap Add Mail Account, then enter your name, your full email address, your password, and a description (like your business name). Tap Next.
-
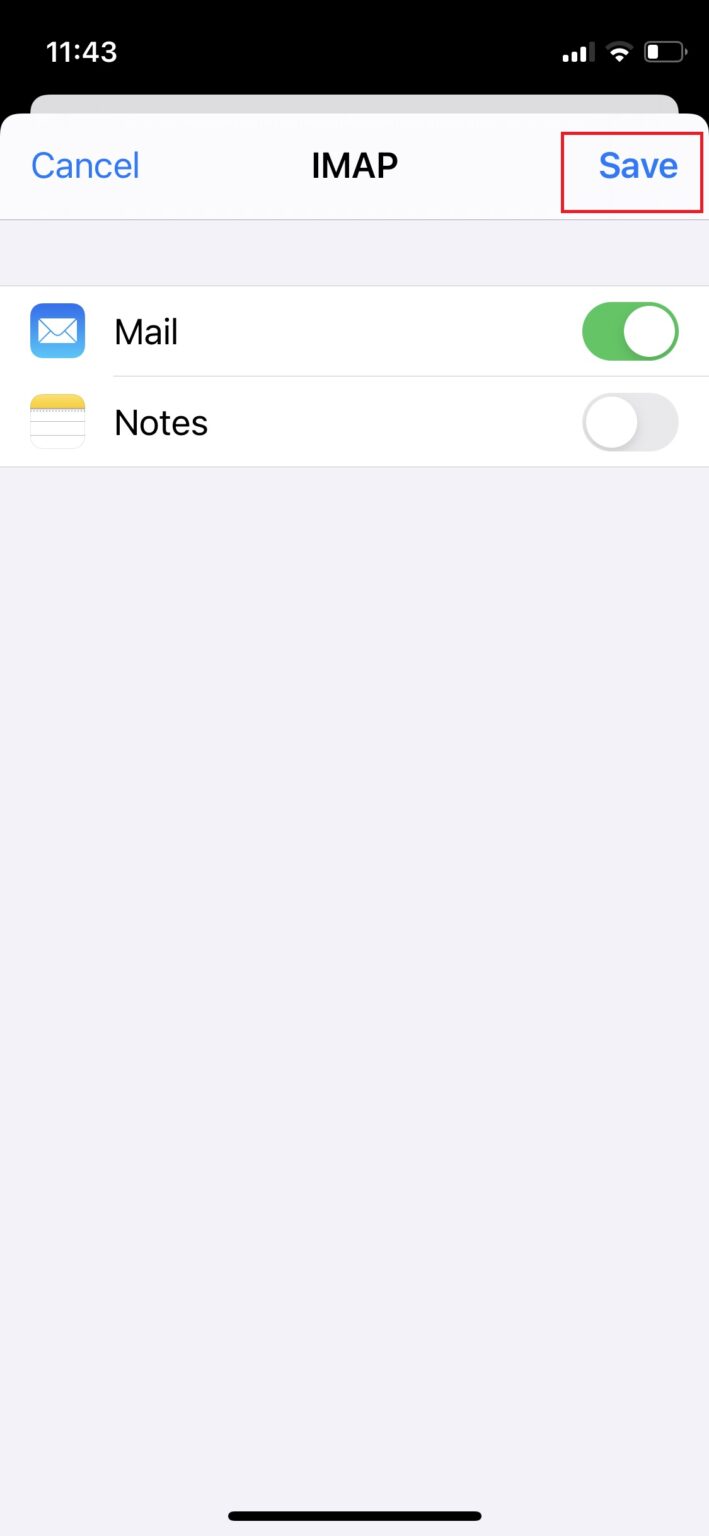
Make sure IMAP is selected at the top. For both Incoming Mail Server and Outgoing Mail Server, enter
ax.emailas the host name, and your full email address and password as the username and password. Tap Next.
-
Wait for the ticks to appear, then tap Save.
-
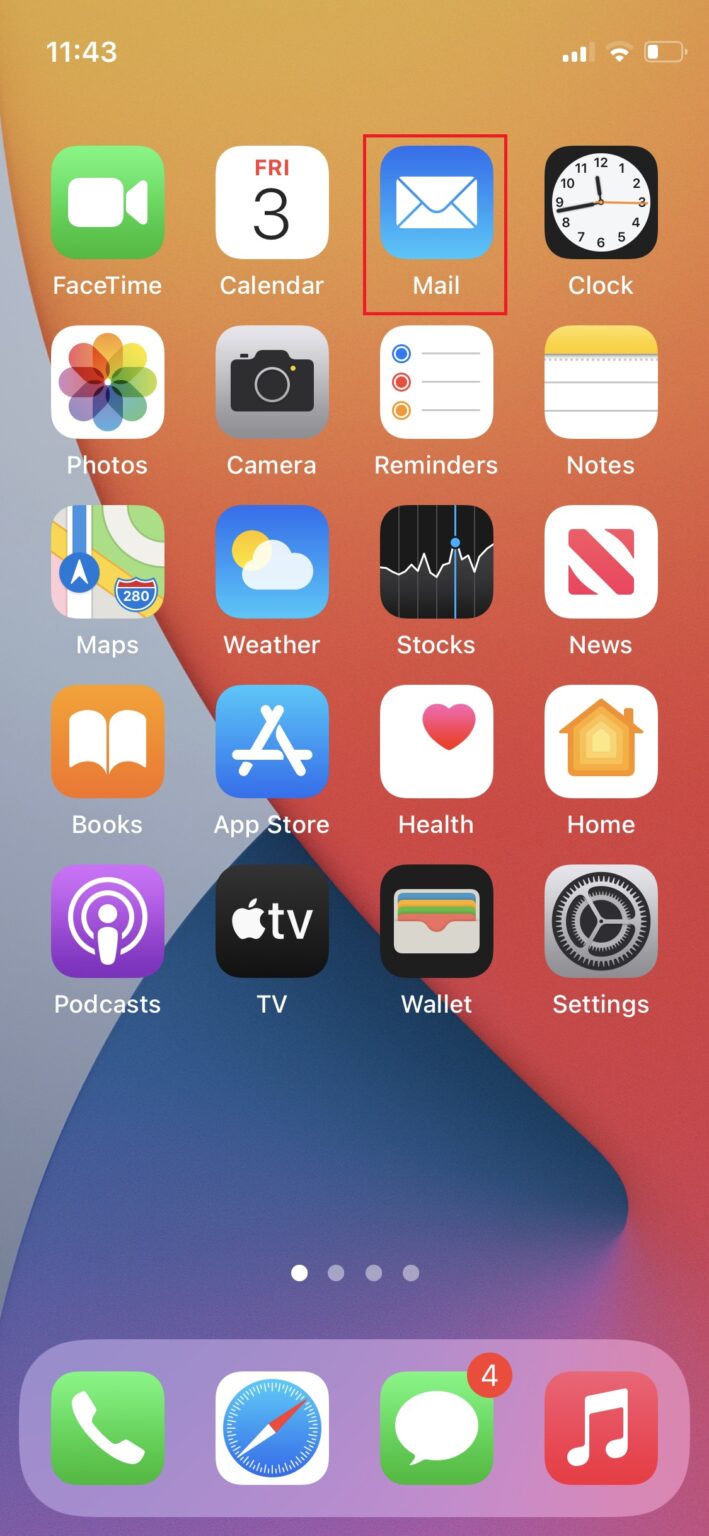
Open the Mail app — your inbox will start filling in. On a busy mailbox the first sync can take a few minutes.
Sending not working?
If mail arrives but won’t send, check the outgoing server: Settings → Mail → Accounts → your account → SMTP → ax.email, and make sure Use SSL is on and the port is 465, with your full email address and password entered there too — the outgoing server needs its own copy of your login.
Didn't work, or not sure?
No worries — that's what we're here for. Tell us what step you got up to and what you saw, and we'll sort it with you.