Put a WooCommerce product on sale
WooCommerce shows a strikethrough on the regular price and highlights the sale price automatically — you just need to fill in two fields.
Set a sale price
- Go to Products → All Products and click the product you want to put on sale.
- Scroll to the Product data section — make sure you’re on the General tab.
- You’ll see Regular price and Sale price fields. Enter the reduced amount in Sale price.
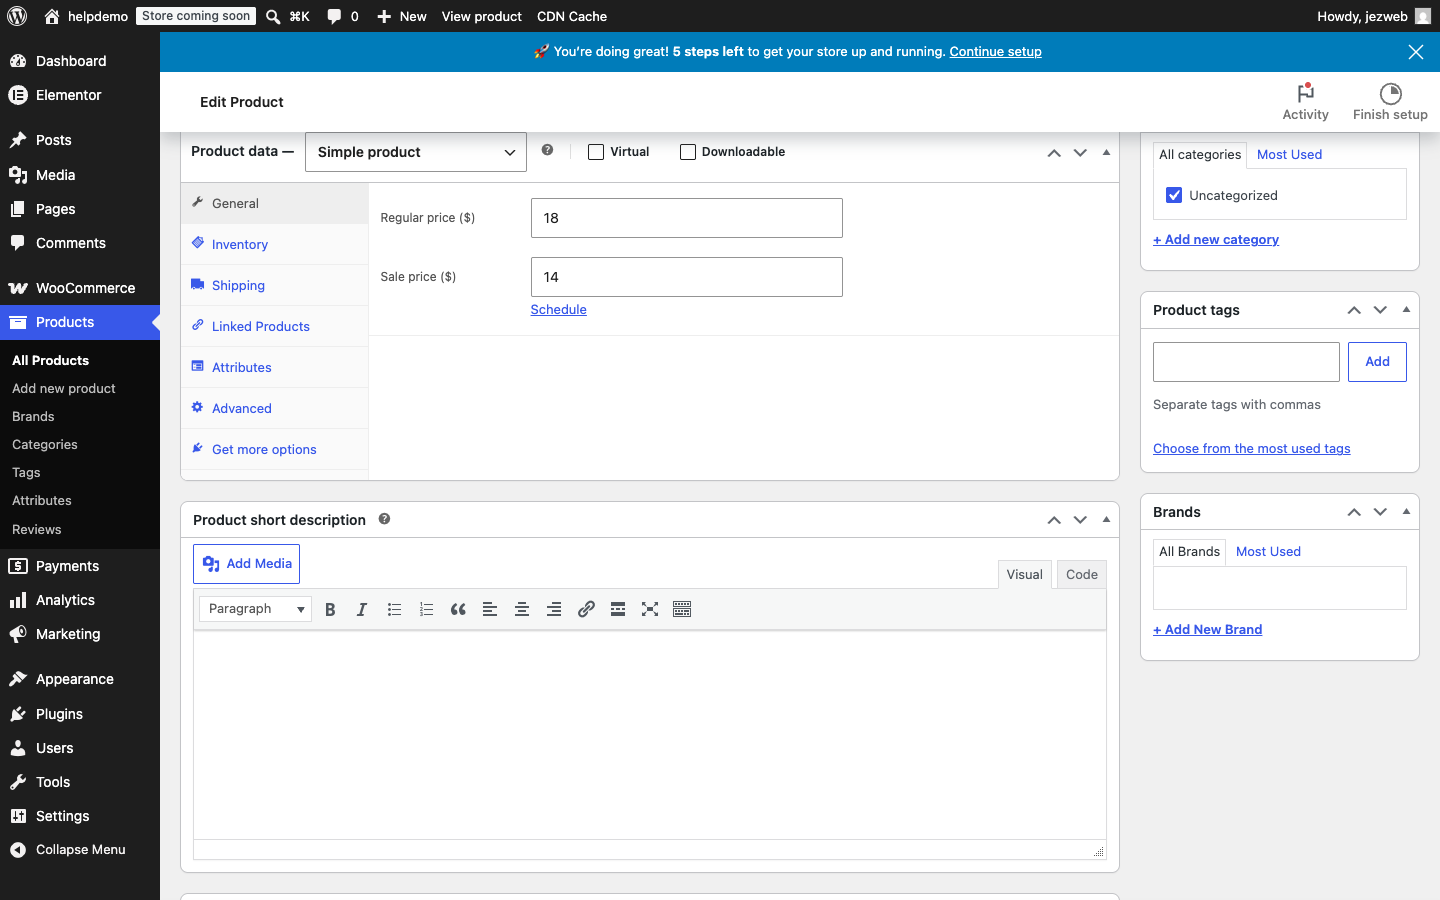
- Click the blue Update button (top-right) to save. The product is now on sale.
To end the sale, clear the Sale price field and click Update again.
Schedule the sale (optional)
If you want the sale to run for a specific period — say, a weekend promotion — click the Schedule link beneath the Sale price field.
Two date fields appear: From and To. Enter dates in YYYY-MM-DD format (e.g. 2026-12-24 to 2026-12-26). WooCommerce will apply the sale price automatically at midnight on the start date and remove it at midnight on the end date.
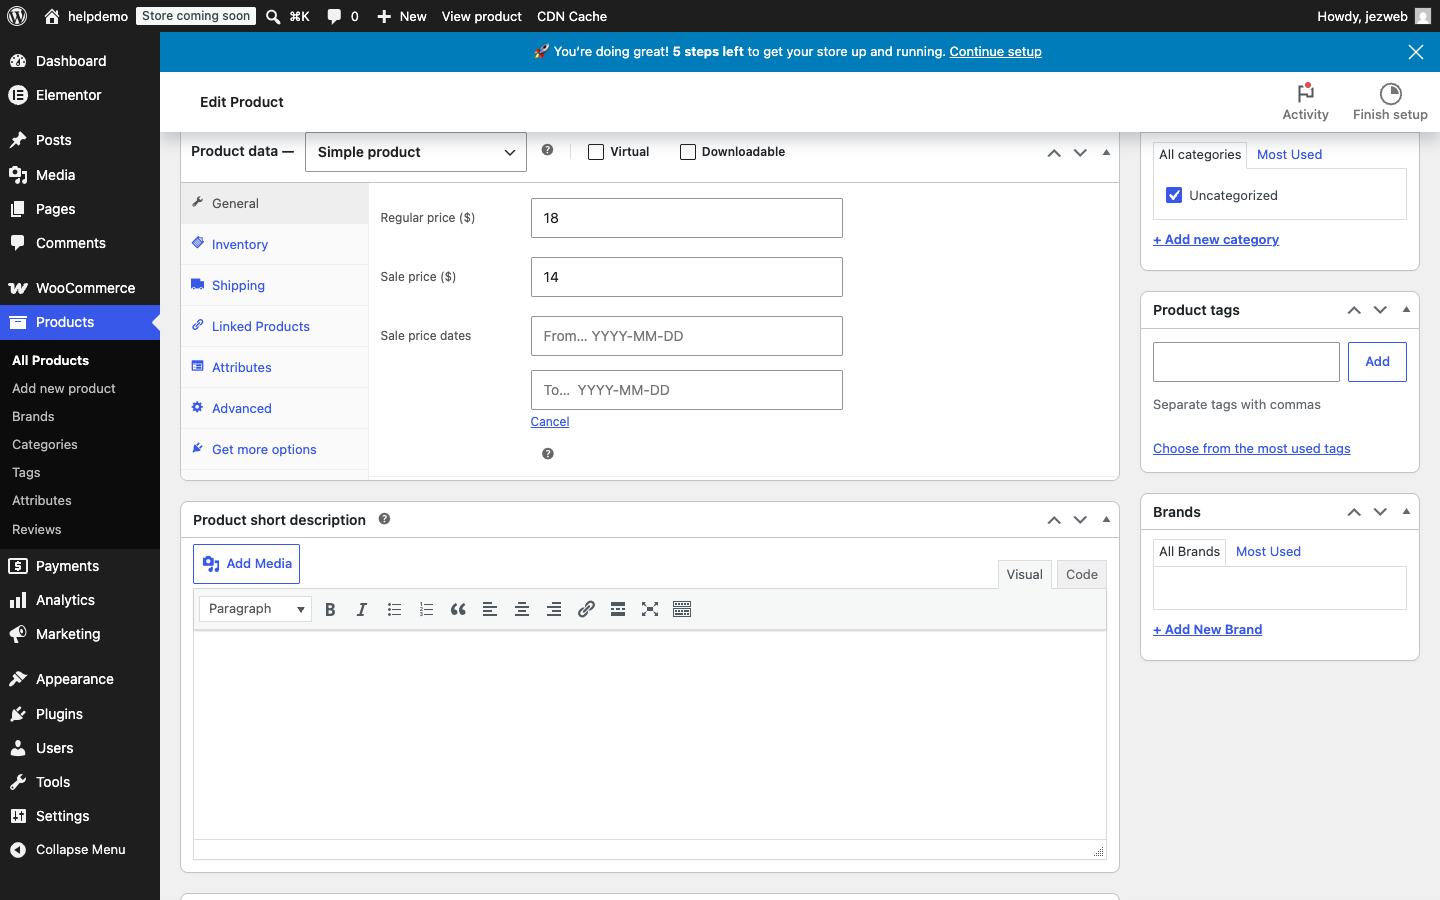
If you only fill in From and leave To empty, the sale runs indefinitely from that date. If you only fill in To, the sale starts immediately and ends on that date.
Click Update to save the schedule.
Didn't work, or not sure?
No worries — that's what we're here for. Tell us what step you got up to and what you saw, and we'll sort it with you.