Edit form fields safely
The Gravity Forms editor lets you change what appears on your form — add new fields, adjust labels, mark fields as required, and more. Most changes are safe to make yourself. A few need care.
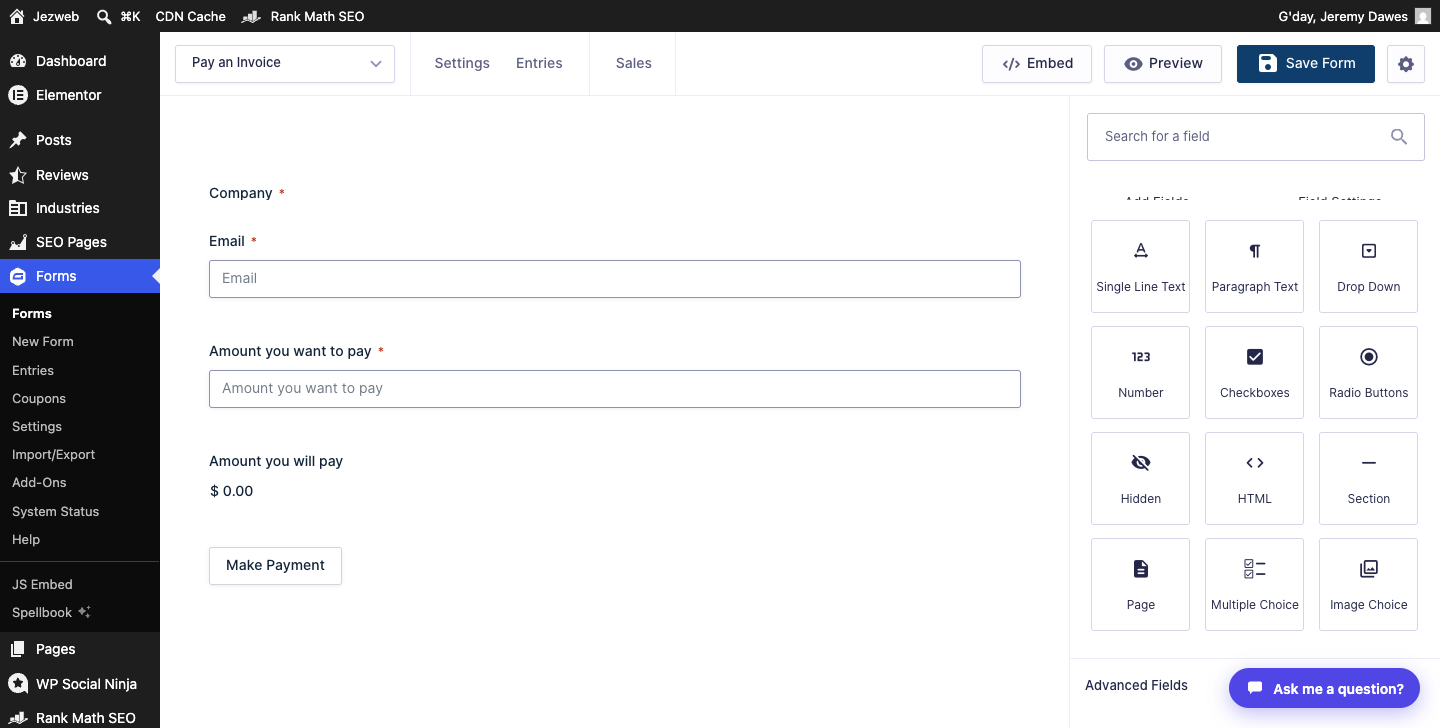
Open the form editor
- Log in to your WordPress dashboard.
- In the left-hand menu, click Forms.
- Click the name of the form you want to edit.
- The editor opens automatically on the Edit tab (or click Edit in the form’s menu bar if you’re on a different tab).
The canvas on the left shows your current fields. The panel on the right has two tabs: Add Fields (to add new field types) and Field Settings (shows settings for whichever field is selected).
Add a new field
- In the Add Fields panel, find the field type you want — for example, Single Line Text, Drop Down, or Email.
- Drag it from the panel onto the canvas, or click it to add it to the bottom of the form.
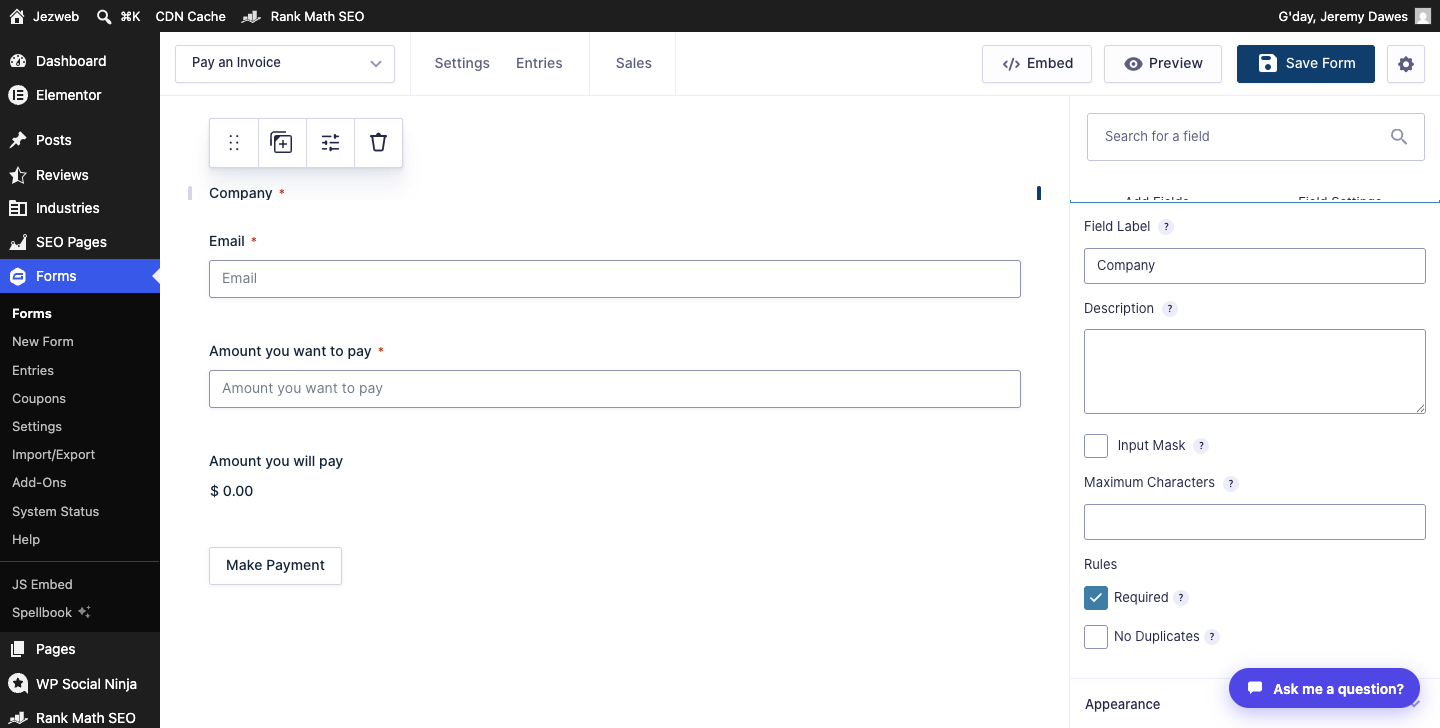
- Click the new field on the canvas to open its settings in the Field Settings panel.
- Update the Field Label to something meaningful (this is what your visitors see).
- Tick Required if the field must be filled in before the form can be submitted.
- Click Save Form (blue button, top right) when you’re done.
Adding a new field is safe — it won’t affect existing entries or notifications.
Change a field label
Click the field on the canvas, then update Field Label in the Field Settings panel on the right. Click Save Form.
The label is what visitors see — changing it won’t break anything. Past entries will still show the old label for those submissions.
What to avoid
Deleting a field removes it permanently, including from notification emails and exports. If the field was included in your notification email template, the notification will show a blank or broken placeholder until the template is updated. Ask us before deleting a field you’re not sure about.
Renaming a field’s internal ID (the “Parameter Name” in advanced settings) can break conditional logic or third-party integrations. Changing the visible label is fine; leave the parameter name alone unless you know why you’re changing it.
After saving
Changes take effect immediately — the next person to load the form page will see the updated version. You don’t need to update anything else on the website.
If you’d like help rearranging, restyling, or making bigger changes to a form, contact us or call 1300 024 766.
Didn't work, or not sure?
No worries — that's what we're here for. Tell us what step you got up to and what you saw, and we'll sort it with you.