Edit a page with Elementor
Elementor is a visual editor — you drag widgets onto the page and type directly into them. This guide walks you through the basics: finding the editor, adding a heading and some text, and saving when you’re done.
Open the editor
-
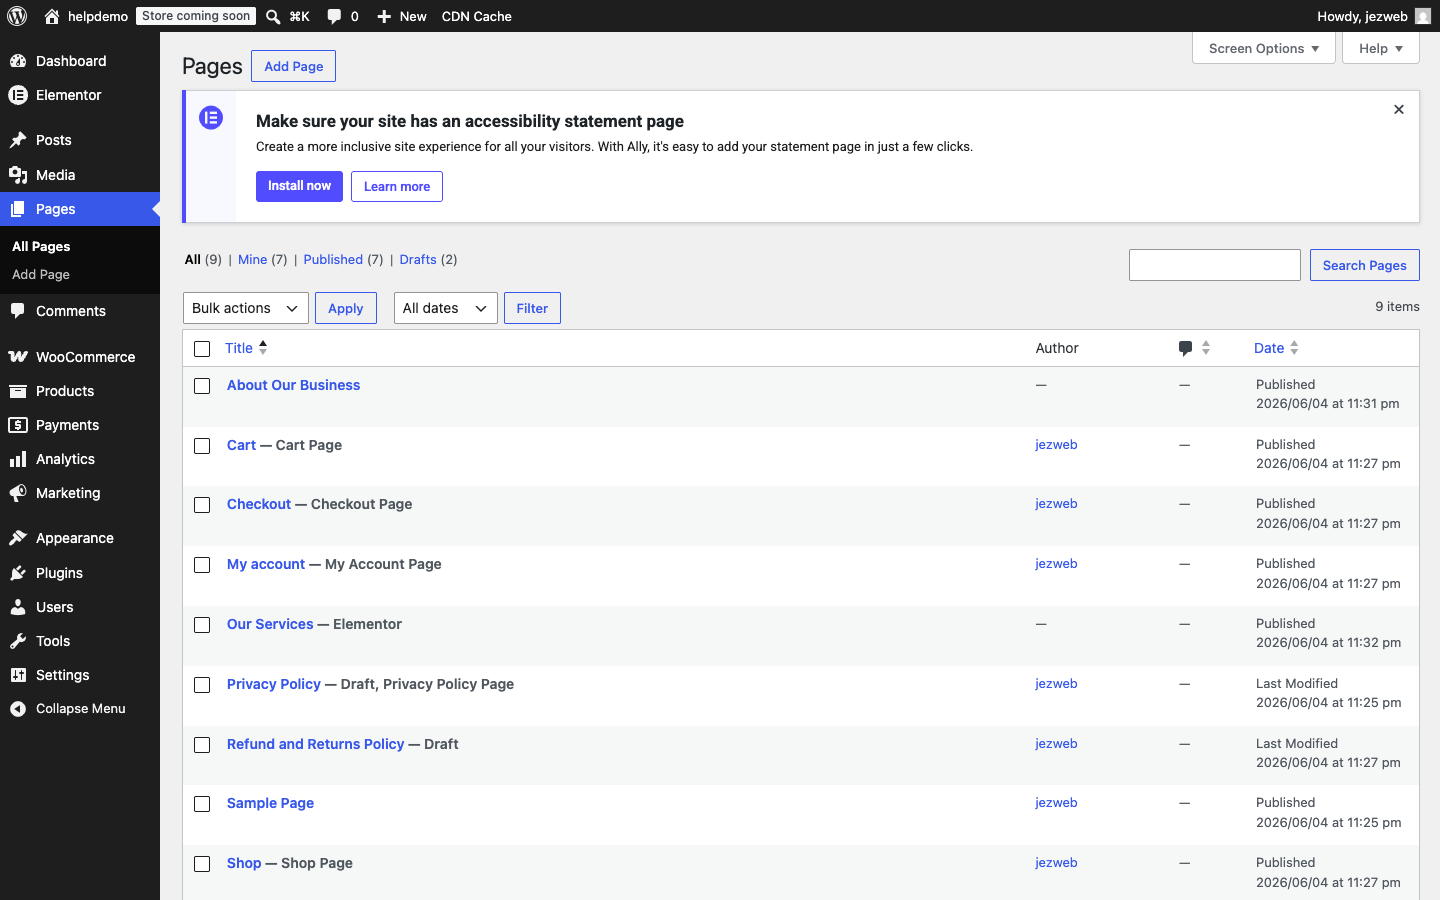
In your WordPress dashboard, go to Pages in the left menu.
-
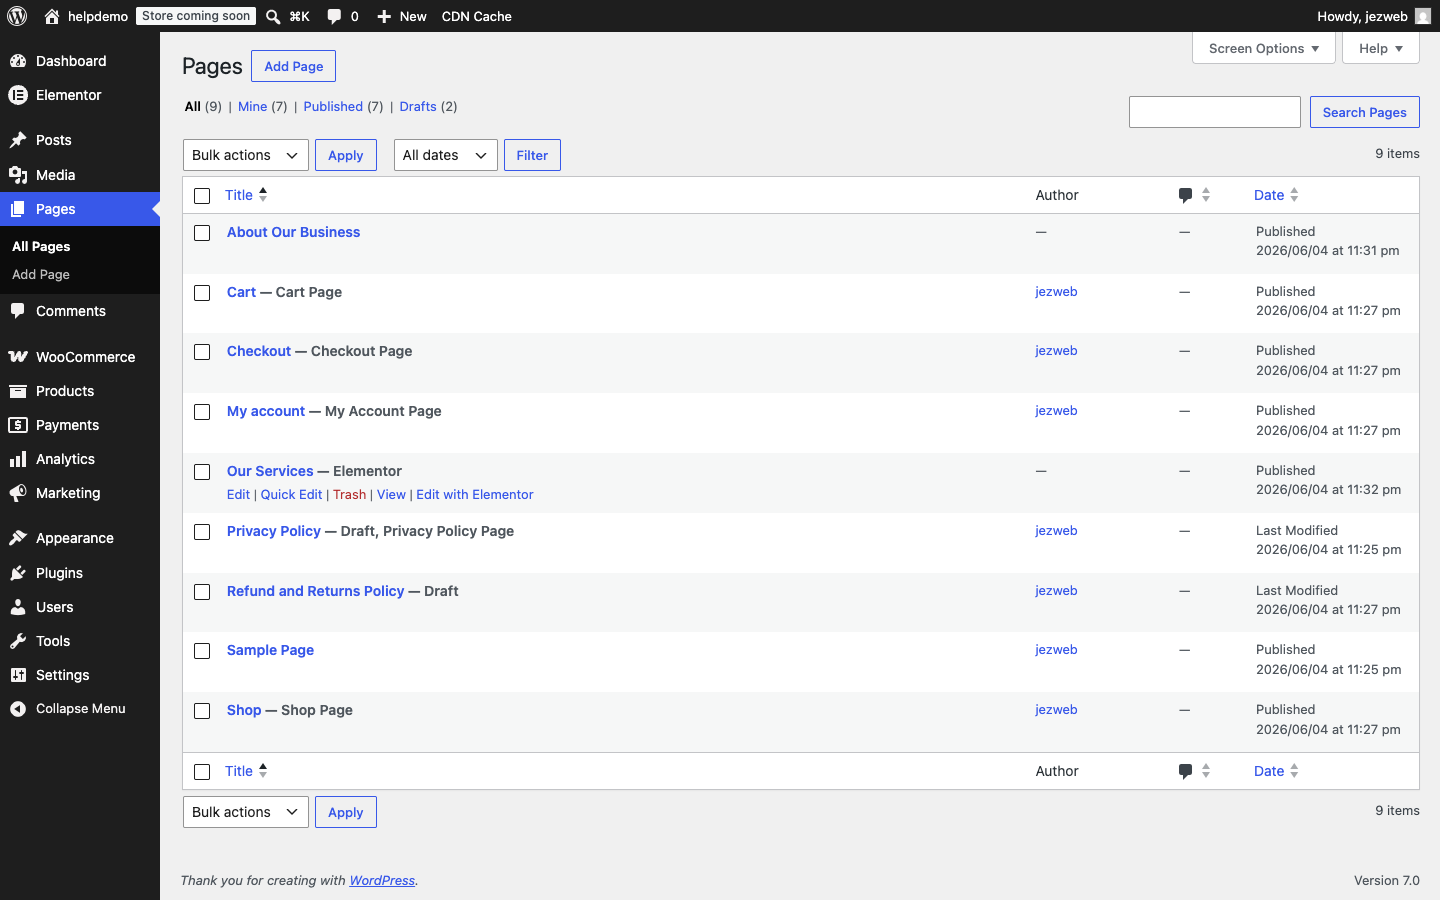
Hover over the page you want to edit. A row of links appears below the title — click Edit with Elementor.
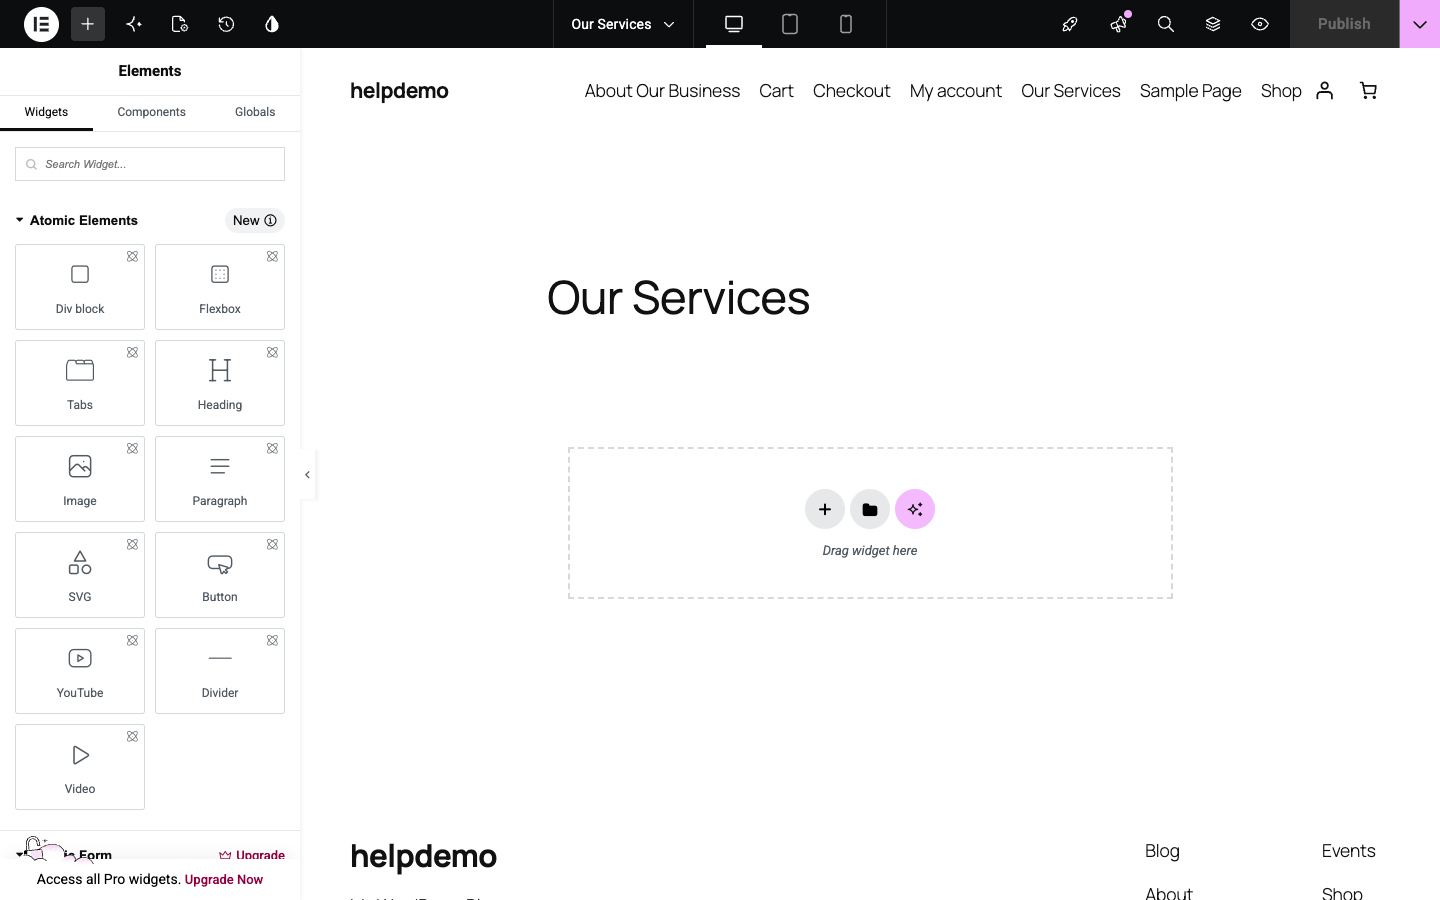
The editor opens in a new tab with your page on the right and the widget panel on the left.
Add a heading
-
In the left panel, find the Heading widget (under Atomic Elements). Drag it onto the canvas and drop it where you want it.
-
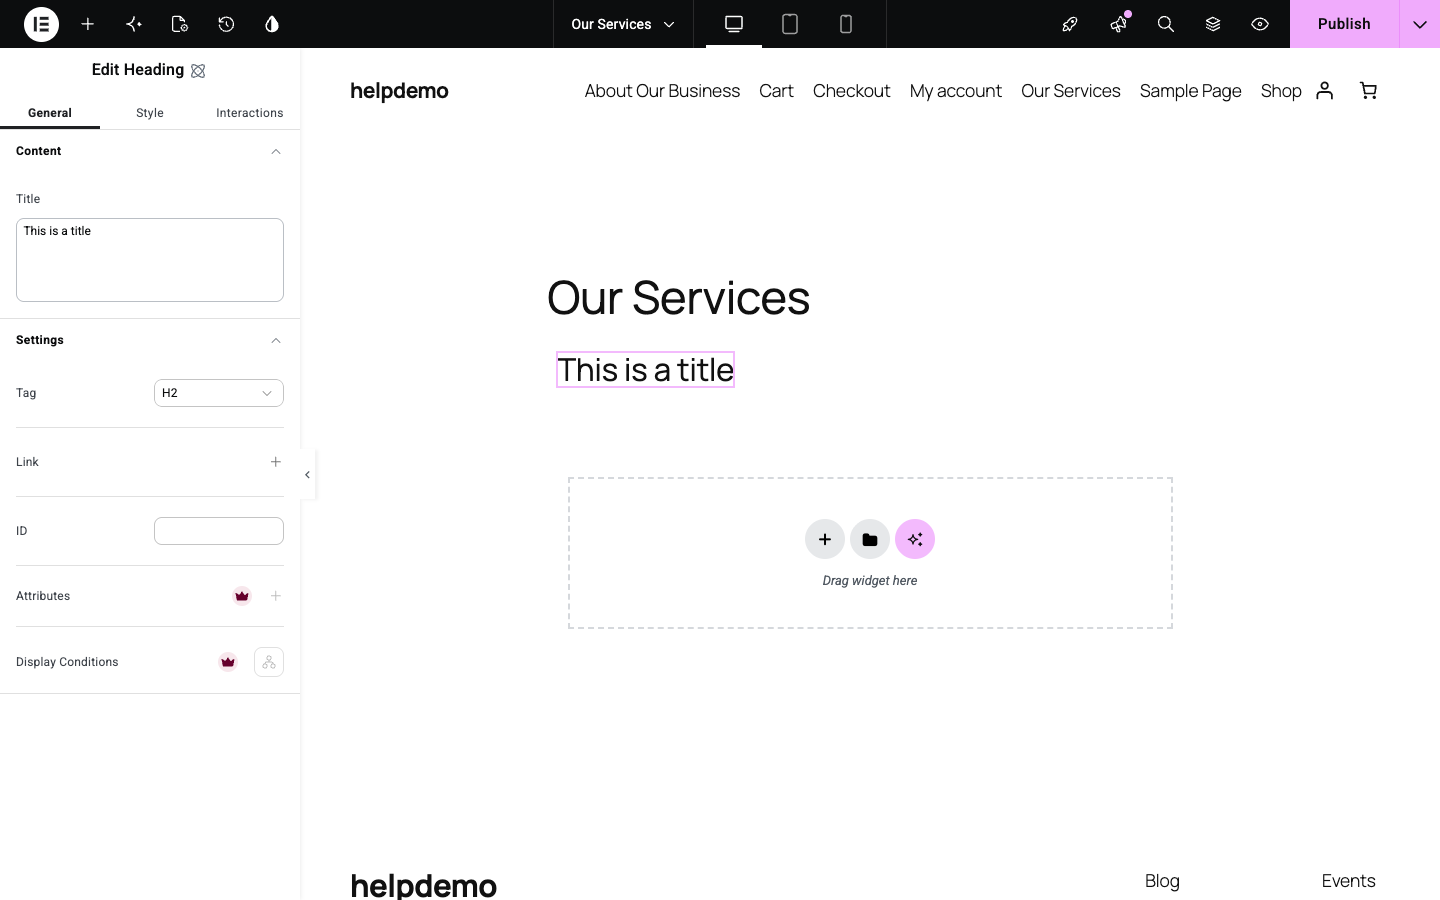
The left panel switches to Edit Heading. Click into the Title field and type your heading text.
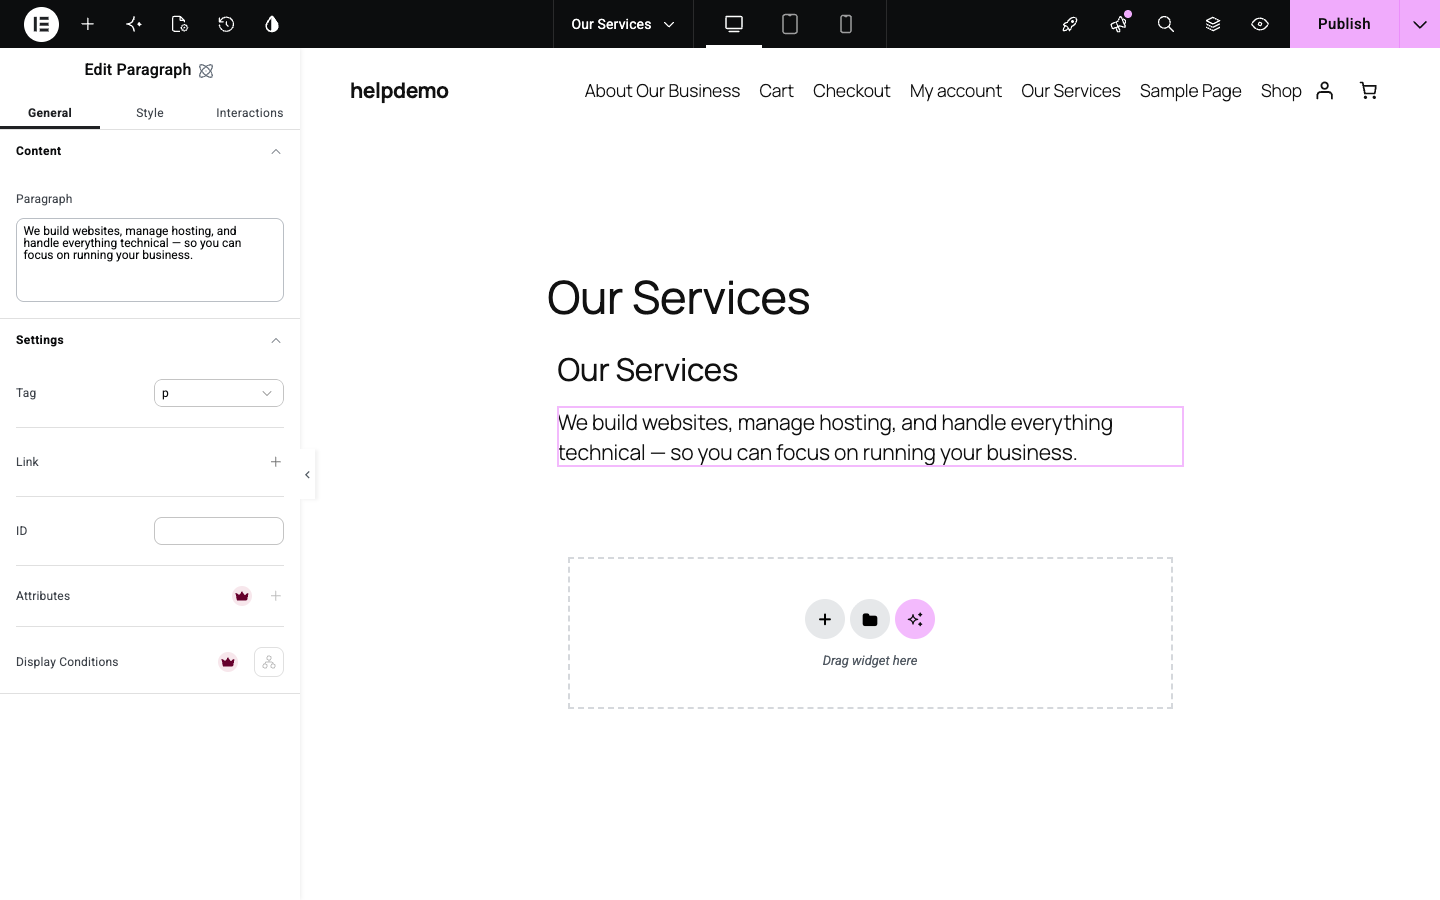
Add a paragraph
- Drag the Paragraph widget from the panel onto the canvas, below the heading. Click into the Paragraph field and type your text.
Save your changes
-
When you’re happy with your page, click the Publish button in the top-right corner. The button turns purple when there are unsaved changes.
Once saved, the button goes grey. Your changes are live.
Didn’t see the “Edit with Elementor” link?
Make sure you’re hovering over the page row, not just looking at the title. The link only appears on pages that were built with Elementor — regular WordPress pages show Edit but not Edit with Elementor. If you need a page converted, get in touch.
Didn't work, or not sure?
No worries — that's what we're here for. Tell us what step you got up to and what you saw, and we'll sort it with you.