Change images in Elementor
When you add an Image widget in Elementor, it shows a placeholder until you choose a real photo. Here’s how to swap it out — whether you’re uploading something new or picking from images already on your site.
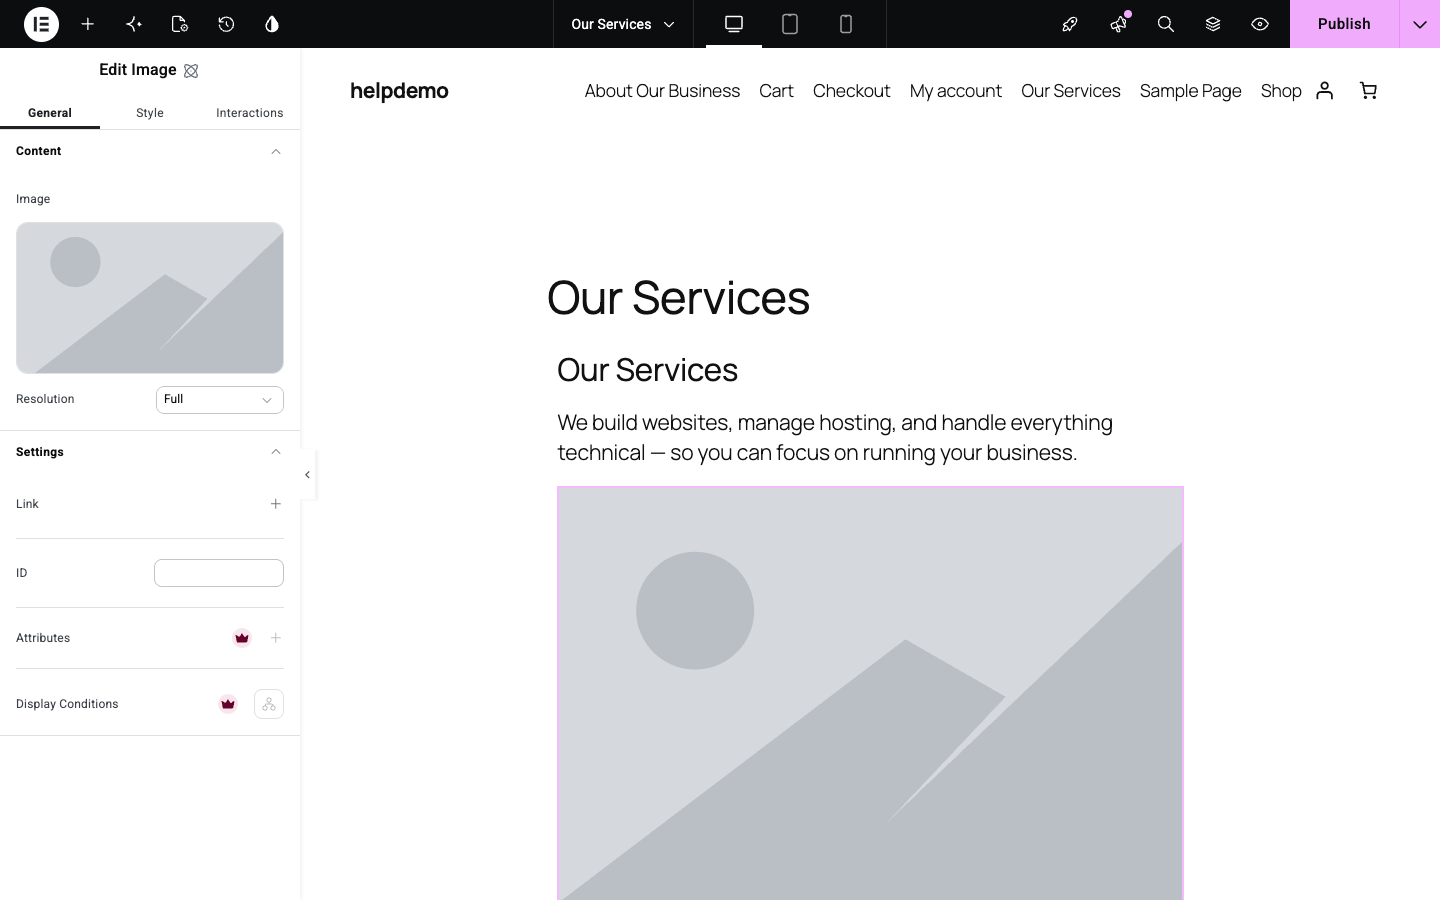
Click on the image widget
-
In the Elementor editor, click the image on your page to select it. The left panel switches to Edit Image, and you’ll see a thumbnail of the current image with a Resolution dropdown below it.
-
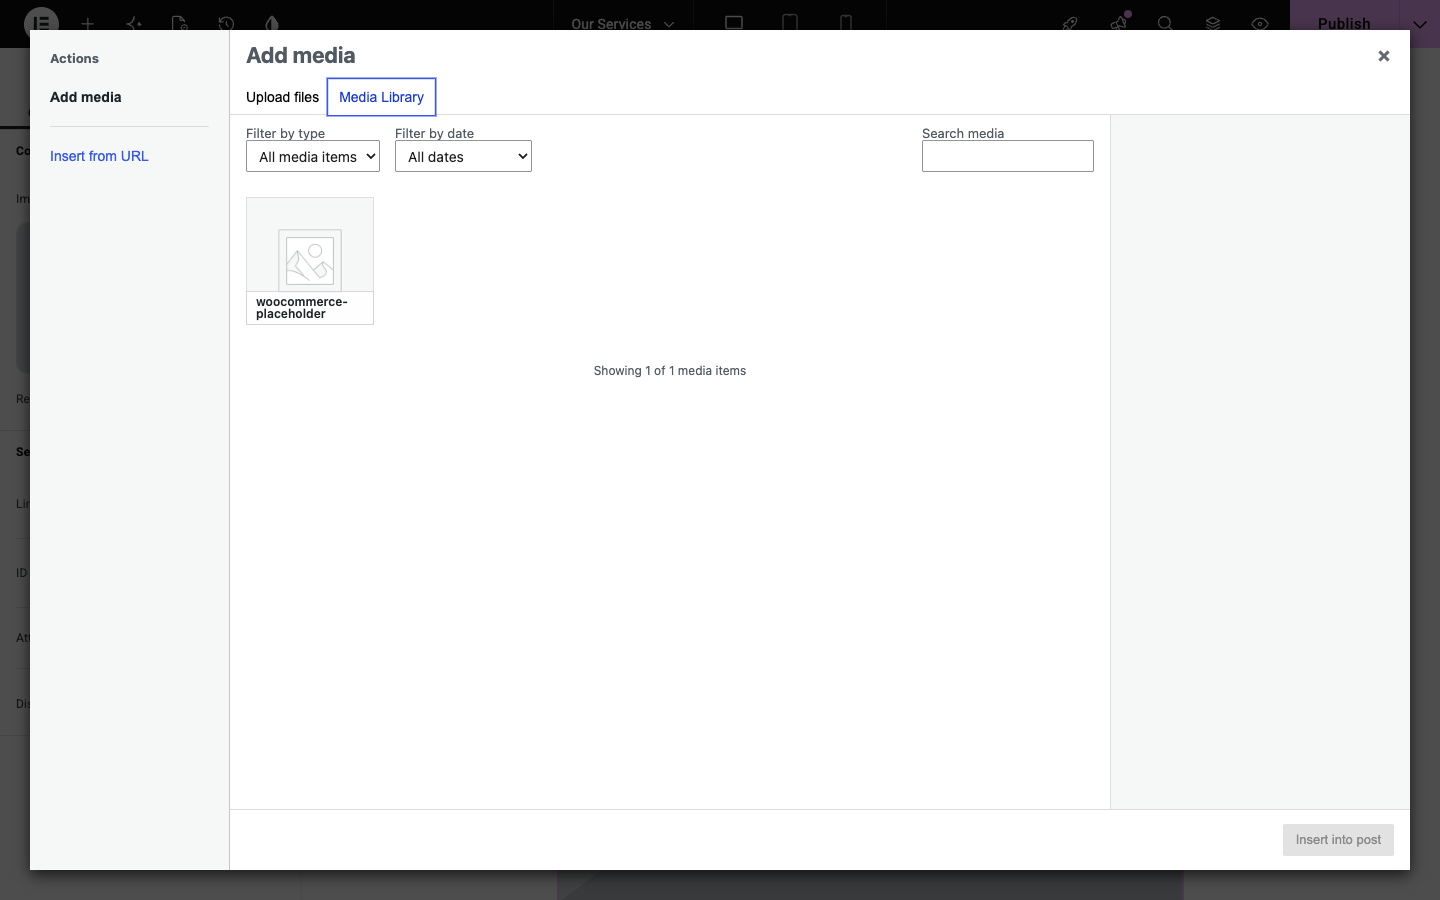
Click the image thumbnail in the left panel to open the media library.
Choose or upload an image
-
The Add media window opens. The Media Library tab shows all images already uploaded to your site.
-
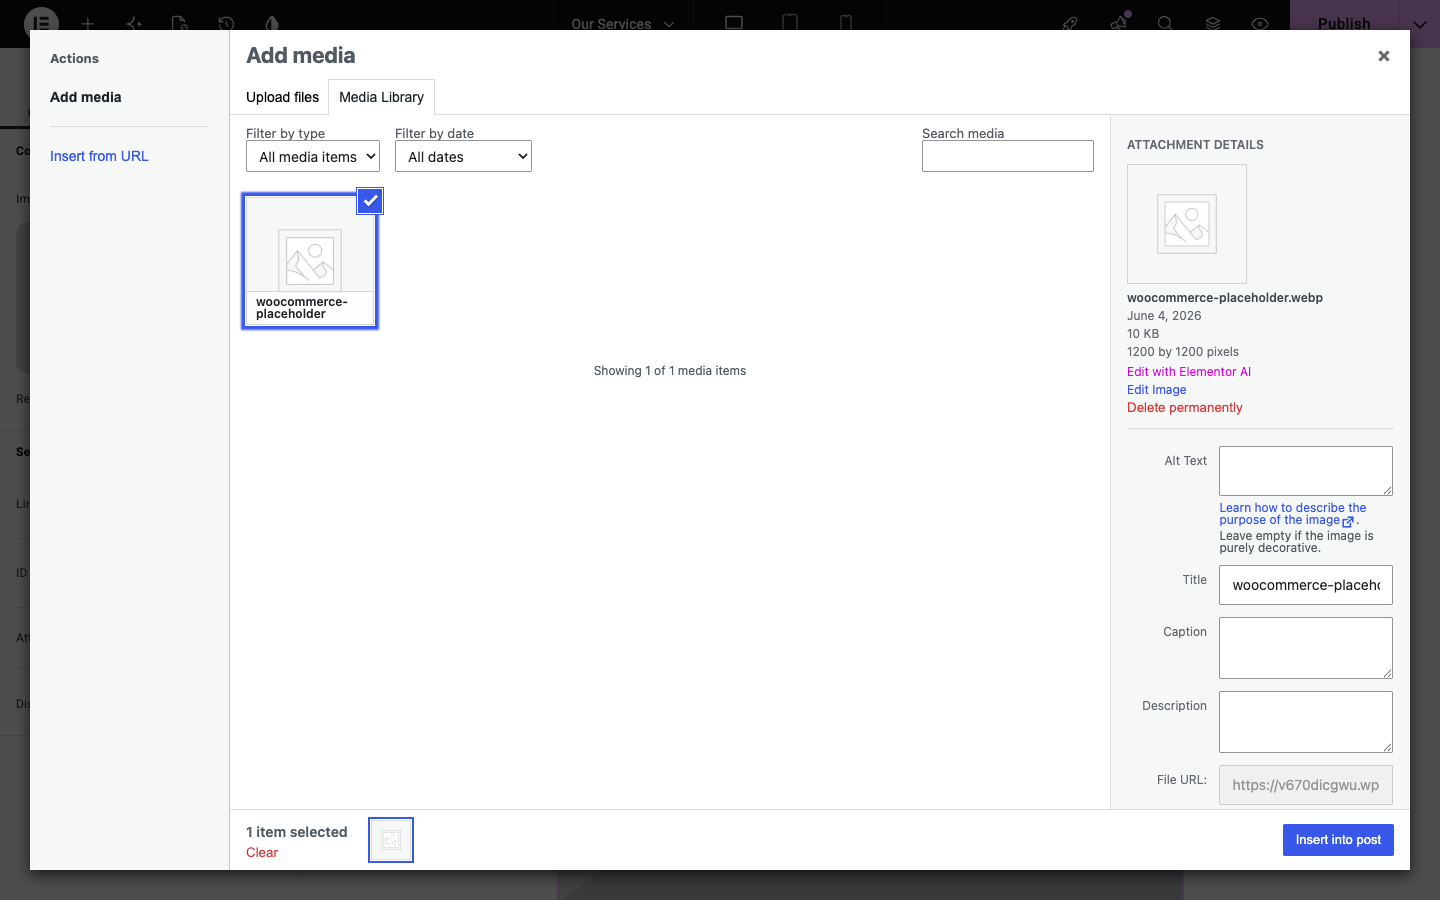
To use an existing image, click it — a blue border and checkmark appear to show it’s selected. Attachment details appear on the right, including the filename and dimensions.
-
To upload a new image instead, click the Upload files tab and drag your image file in, or click Select files to browse your computer.
-
Click Insert into post. The image appears on your page straight away.
Save your changes
- Click Publish (top-right) to save. If Publish is greyed out, your changes are already saved.
Image not looking right?
- Too small or blurry — try a larger original file. Images display best at roughly twice the pixel width you want them to appear on screen.
- Wrong shape — you can crop the image in the WordPress media library: go to Media → Library, click the image, then Edit image.
- Can’t find your image — use the search box at the top of the media library, or filter by date to find recently uploaded files.
Didn't work, or not sure?
No worries — that's what we're here for. Tell us what step you got up to and what you saw, and we'll sort it with you.