Add or change images
All the images on your site live in the Media Library. You can upload new ones there at any time, and swap existing images directly in the page editor.
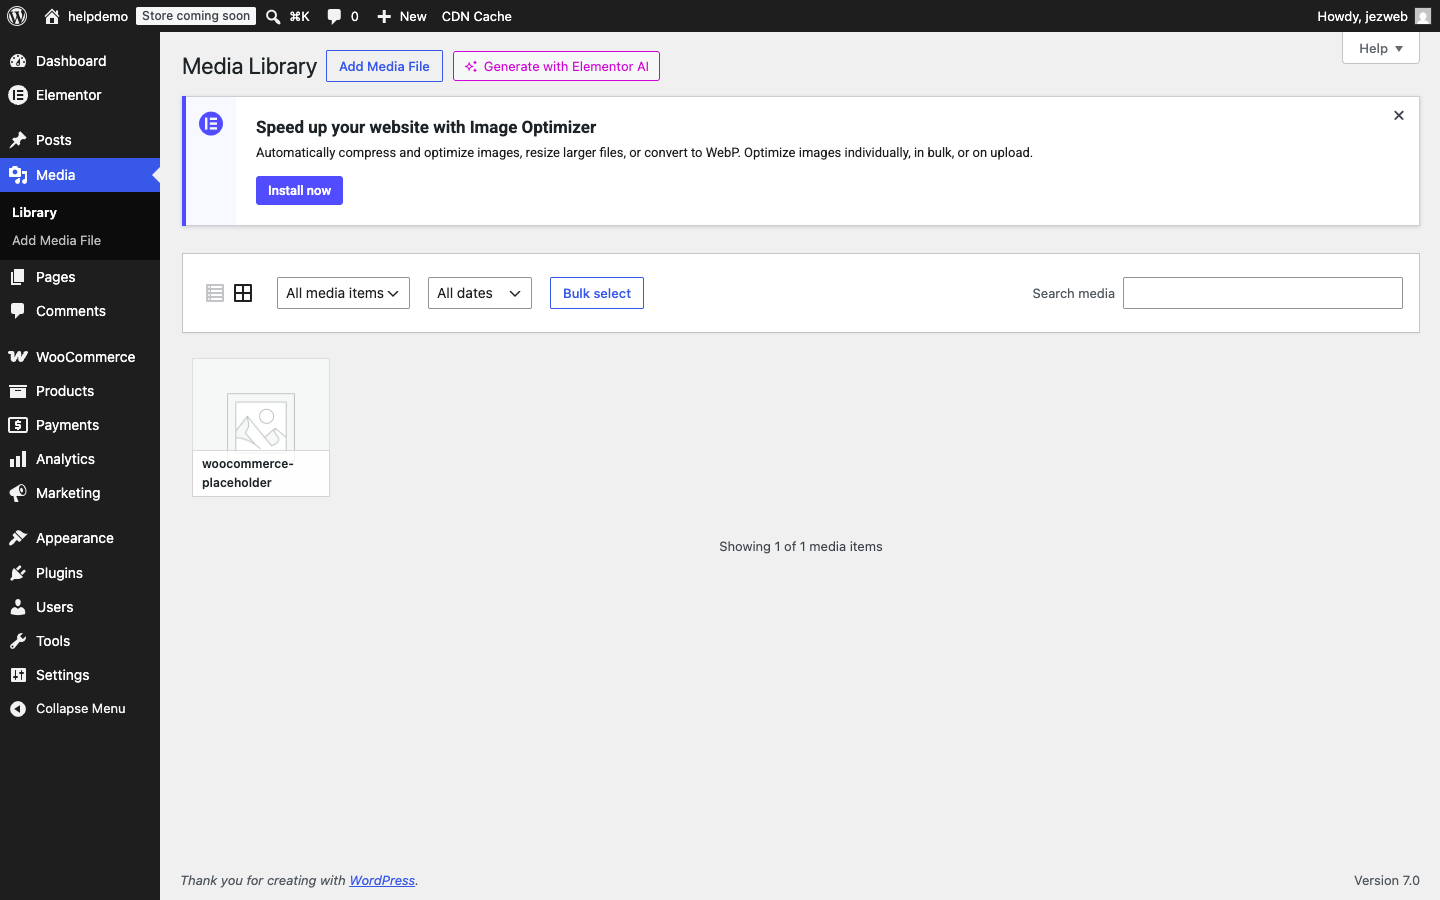
Upload an image to the Media Library
-
In the admin menu, click Media.
-
Click Add New Media File and choose a file from your computer, or drag an image straight onto the page.
-
WordPress uploads it and adds it to your library. It’s now available to use anywhere on the site.
Replace an image on a page
-
Open the page in the block editor (see Edit text on a page).
-
Click on the image you want to replace. The block toolbar appears above it.
-
In the right-hand sidebar, look for the Replace button (or click the image block’s toolbar Replace icon). Click it and choose a new image from the Media Library, or upload a fresh one.
-
Click Save when done.
Image tips
- File format — use JPEG for photos, PNG for logos or images with transparent backgrounds. Avoid uploading raw camera files (CR2, NEF, HEIC) — convert to JPEG first.
- File size — keep images under 2 MB where possible. Large files slow down your site. If you’re resizing photos, aim for no wider than 1920 px.
- Alt text — after uploading, add a short description in the Alt Text field. It helps search engines and visitors using screen readers.
Image not showing up on the live page?
Check that you clicked Save after replacing the image. If it still looks wrong, clear your browser cache (Ctrl+Shift+R or Cmd+Shift+R) and reload.
Didn't work, or not sure?
No worries — that's what we're here for. Tell us what step you got up to and what you saw, and we'll sort it with you.