Add a blog post
Blog posts are the news and articles section of your site. Each post can have a category, a featured image, and goes live the moment you publish it.
The steps
-
In the admin menu, click Posts → Add New Post.
-
Click Add title at the top and type your post headline.
-
Click in the content area below the title and start typing. Press Enter to start a new paragraph. Use the + button on the left of any block to insert images, headings, buttons, or other content.
-
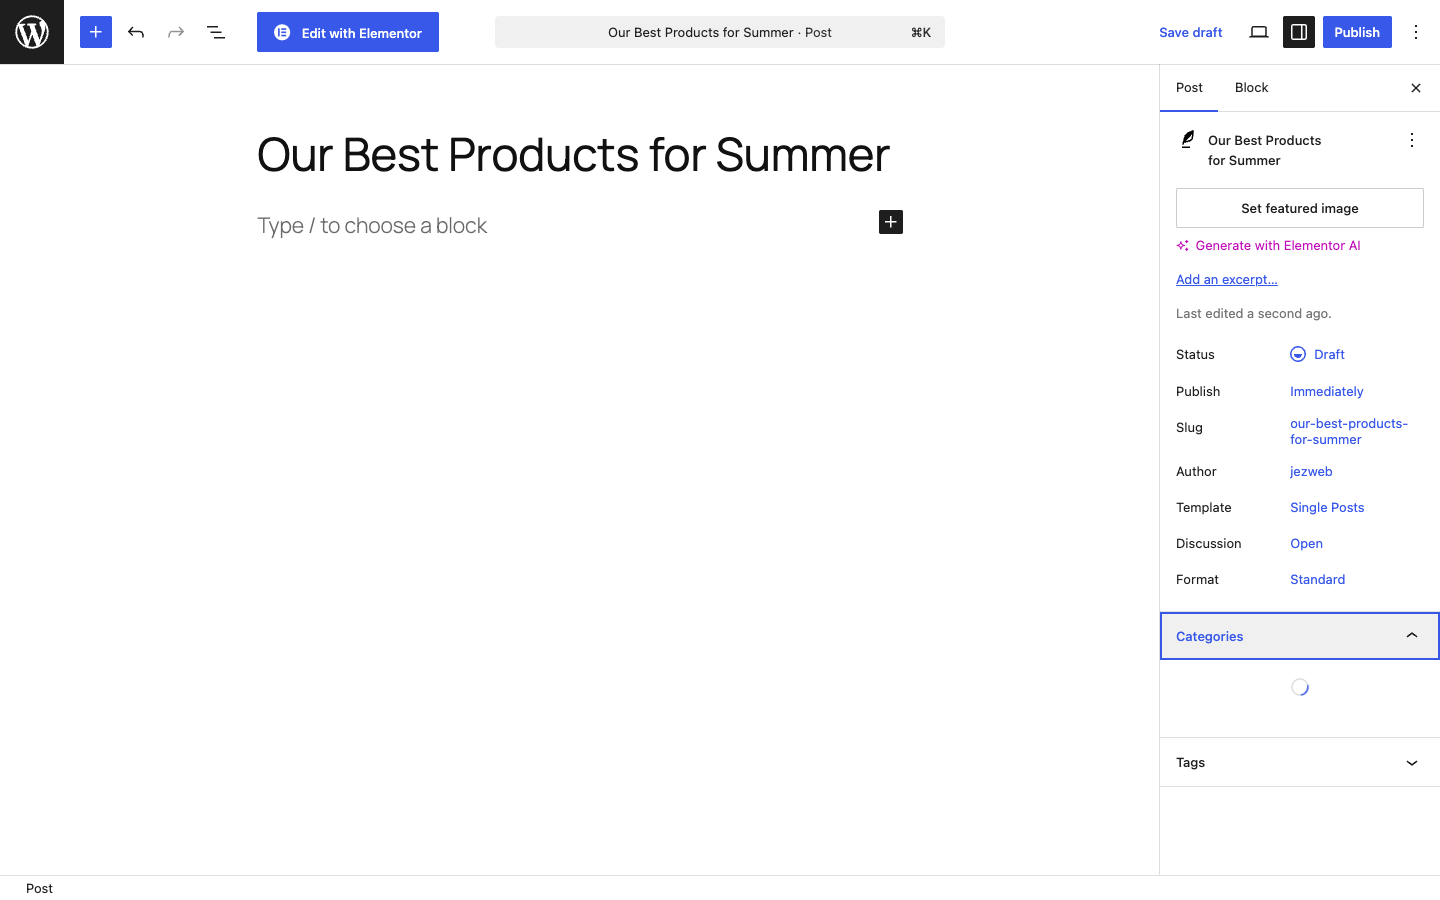
In the right-hand sidebar, click Post (the tab at the top of the sidebar) to see post settings.
-
Category — under Categories, tick the relevant one. If you need a new category, click Add New Category, type a name, and save.
-
Featured Image — scroll down in the sidebar and click Set Featured Image. Choose an image from the Media Library or upload a new one. The featured image usually appears at the top of the post and in post listings.
-
When the post is ready, click Publish in the top-right corner, then confirm by clicking Publish again in the popover that appears.
Draft vs Published
- Draft — saved but not visible to visitors. Good for work in progress.
- Published — live on your site immediately.
You can switch a published post back to Draft at any time from the Status option in the sidebar if you need to take it offline temporarily.
Post not appearing on your blog page?
Check that the correct Category is ticked and that the post is Published (not Draft). If your blog page filters by category, a mis-tagged post won’t show up there.
Didn't work, or not sure?
No worries — that's what we're here for. Tell us what step you got up to and what you saw, and we'll sort it with you.