Add a new page with Elementor
A new service, a landing page for a promotion, a page you can finally point that Facebook ad at. Creating a page is a three-part job: make it, build it, and put it in the menu.
Create the page
-
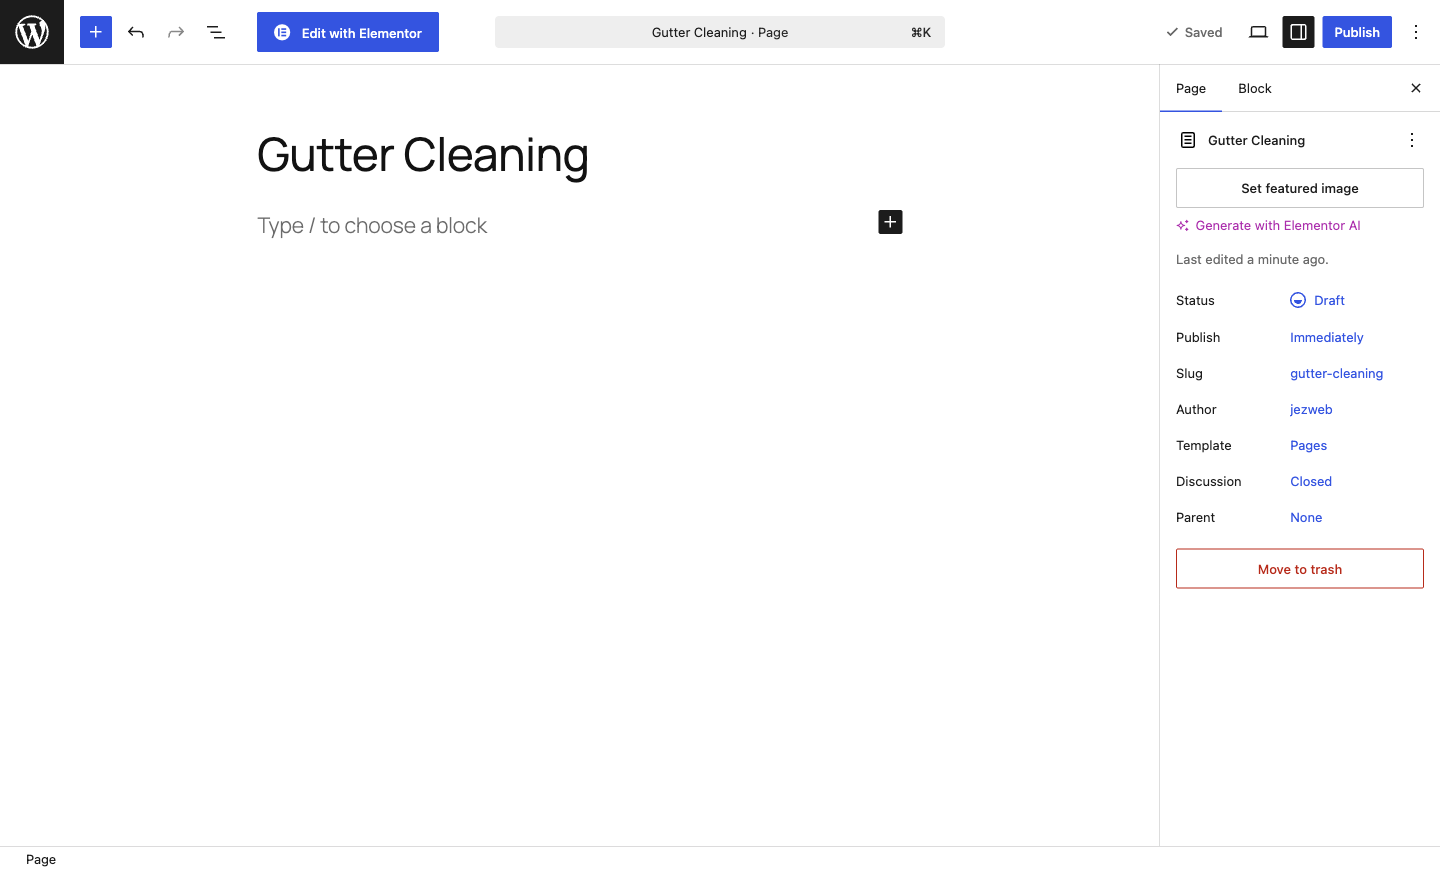
In your WordPress dashboard, go to Pages → Add New Page.
-
Type the page title where it says “Add title” (e.g. “Gutter Cleaning”). The title also sets the page’s address, so keep it short and plain.
-
Click Edit with Elementor in the bar at the top. The Elementor editor opens with an empty canvas; your site’s header and footer are still there automatically.
Build it
-
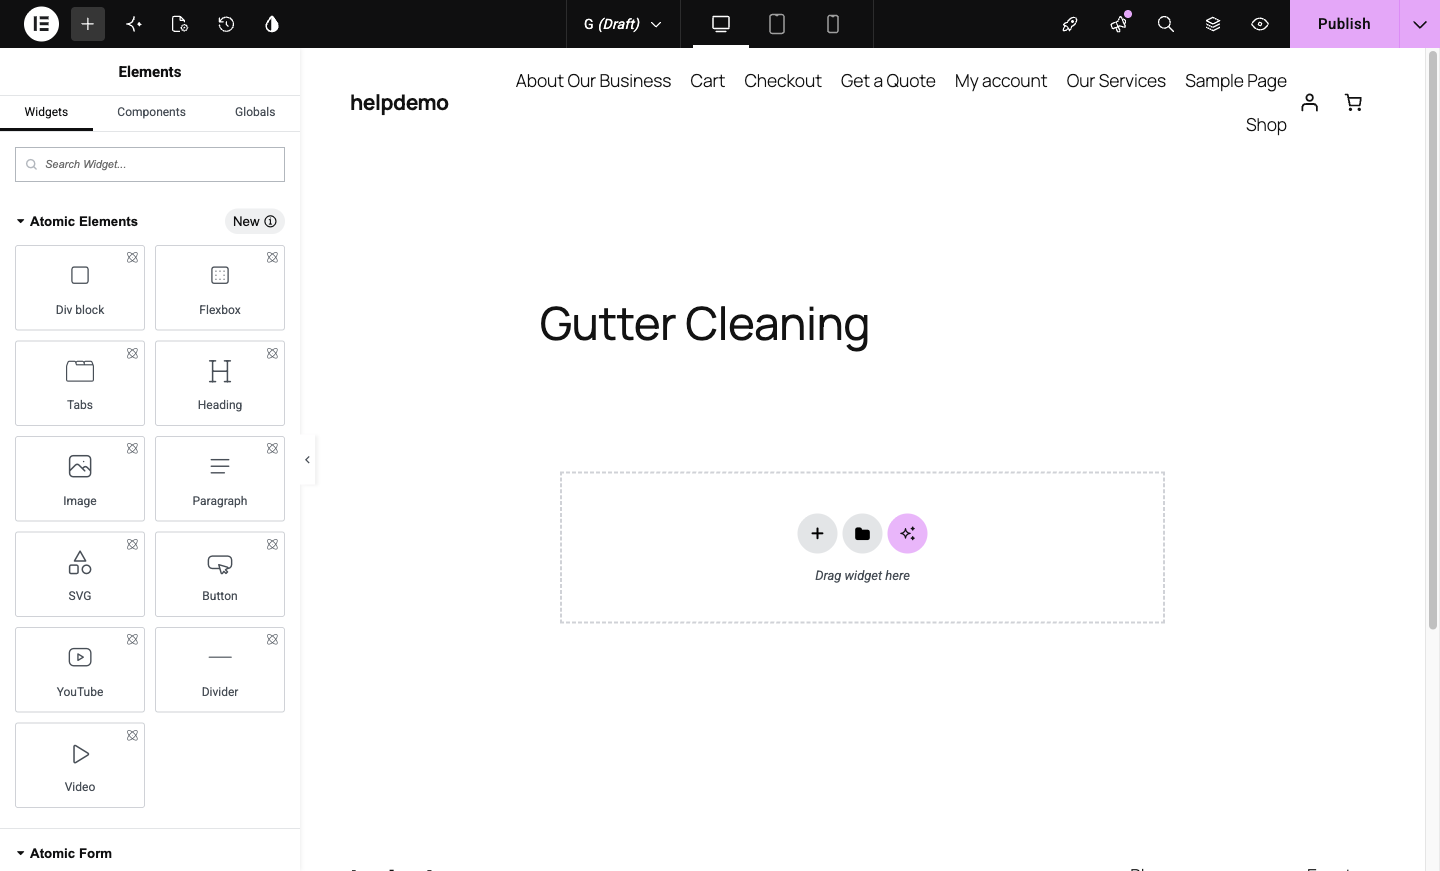
Add containers and widgets the same way as editing any page: see Add a new section for the mechanics. For a typical service page: a heading, a paragraph or two about the service, a photo, and a button to your contact page.
-
Click Publish when it’s ready. Elementor publishes the page itself; it’s now live at its address.
Put it in the menu
A published page isn’t automatically in your navigation. Visitors can’t find what isn’t linked:
-
Back in the WordPress dashboard, go to Appearance → Menus. (On some sites the menu lives in the theme’s editor instead; if you don’t see Menus, ask us and we’ll point you at the right spot for your site.)
-
In Add menu items, tick your new page and click Add to Menu. Drag it to the right position in the list. Drag it slightly right under another item to make it a dropdown child.
-
Click Save Menu. Check the live site; the page should appear in your navigation.
Before you share the link
Read the page once on your phone (see Check your page on mobile), click every button on it, and make sure the page title reads properly in the browser tab. Then share away.
Didn't work, or not sure?
No worries — that's what we're here for. Tell us what step you got up to and what you saw, and we'll sort it with you.