Add a new section to a page in Elementor
Editing existing text is one thing; sometimes you need a whole new block on the page. A new testimonial, an extra service, a call-to-action. In Elementor that means adding a container, then putting widgets inside it.
Add a container
-
Open the page with Edit with Elementor (see Edit a page with Elementor if you’re new to the editor).
-
Scroll to where the new section should go. Between existing sections (and in the empty area at the bottom of the page), a + appears as you hover. Click it.

-
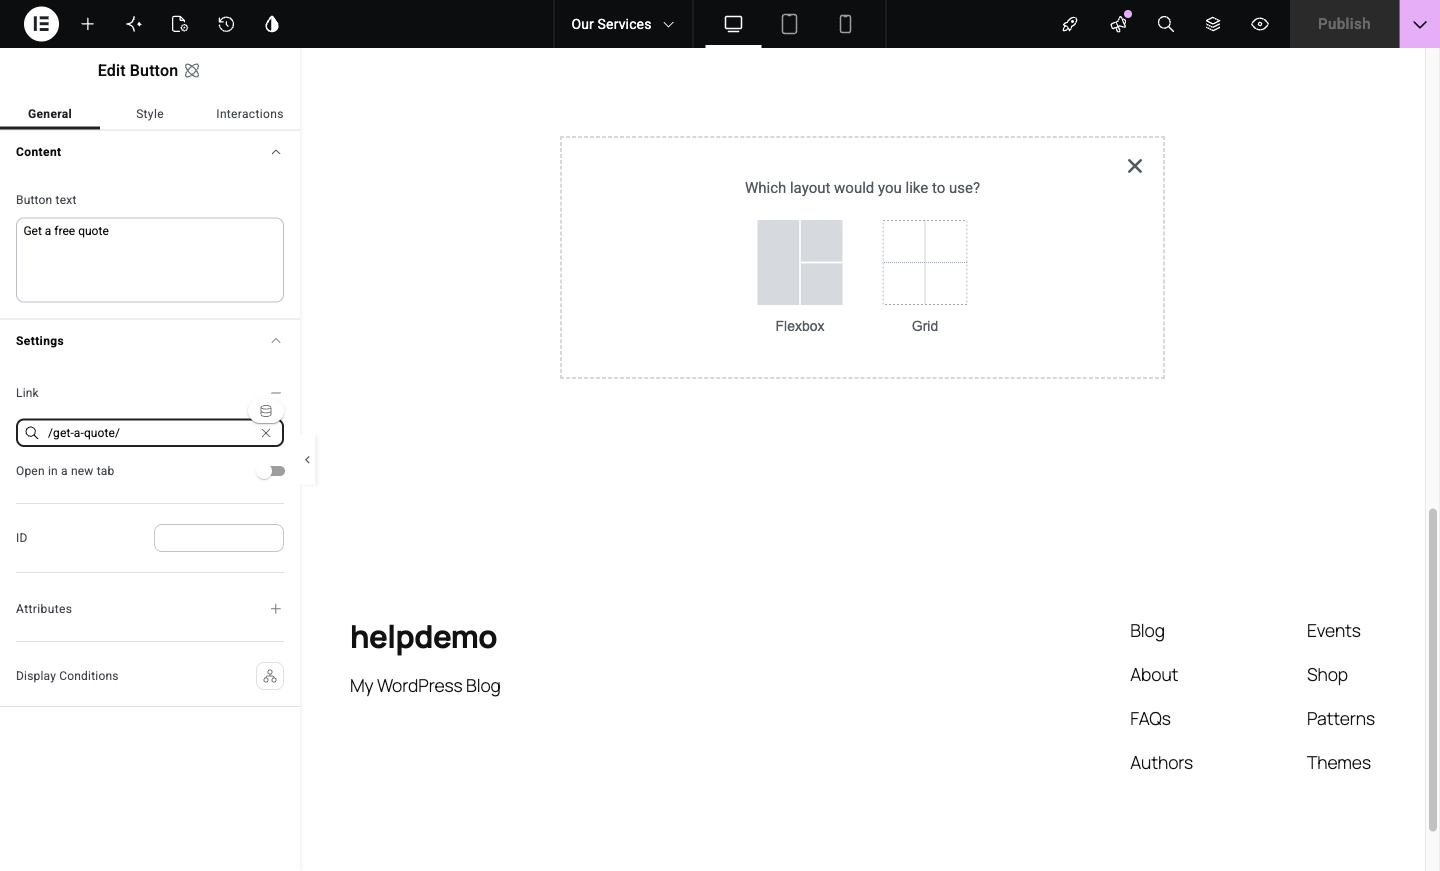
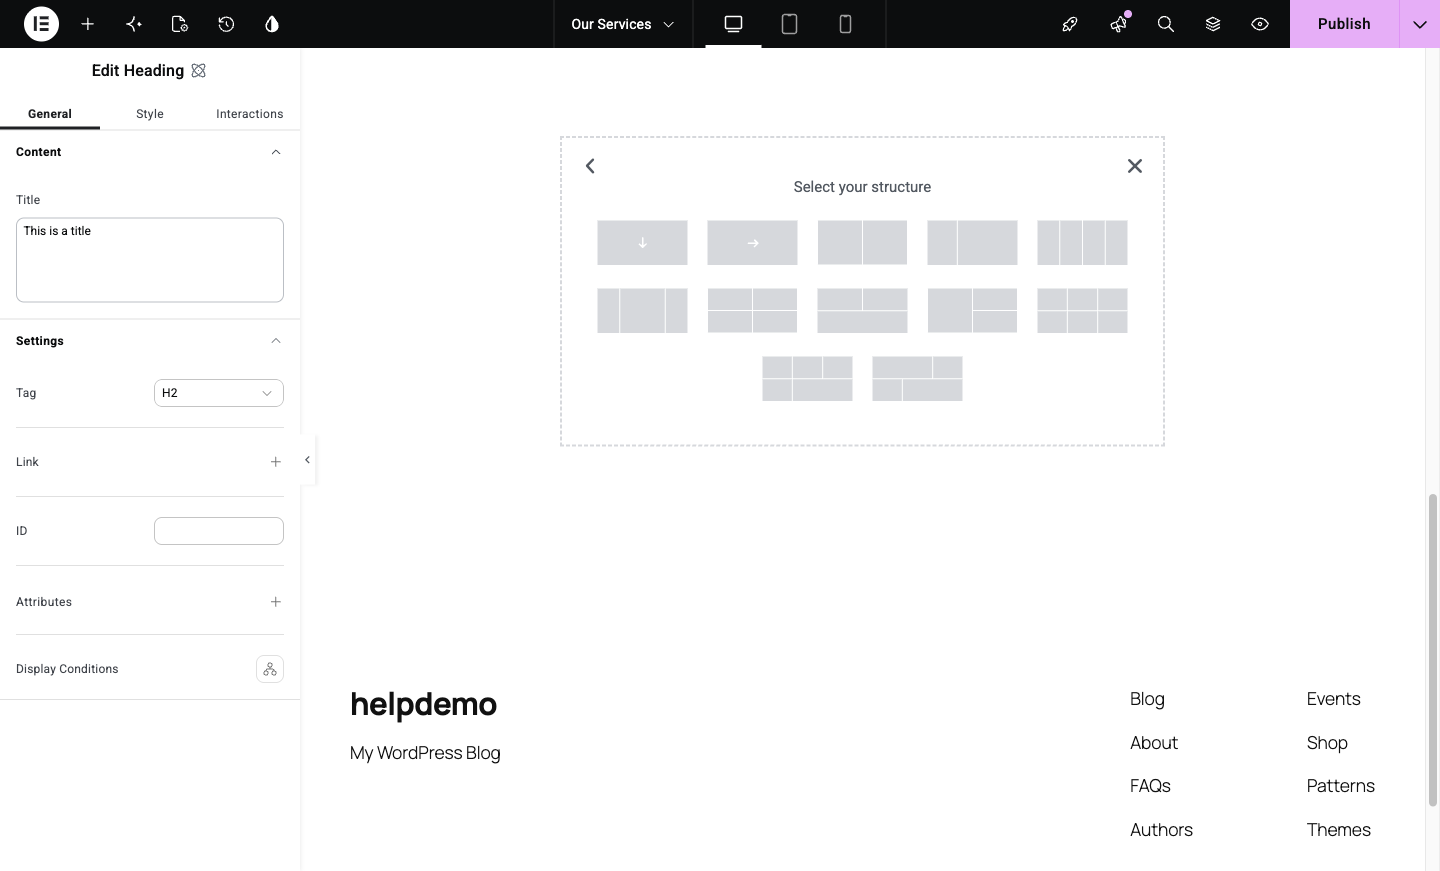
Elementor asks “Which layout would you like to use?” — choose Flexbox (the everyday choice; Grid is for stricter row-and-column designs). Then pick a structure: a single column, or two or three side-by-side areas. Pick the shape that matches what you’re adding. You can change it later.
Put widgets in it
-
From the left panel, drag widgets into the container: a Heading, a Paragraph, an Image, a Button. Each drops where the blue placement line shows.
-
Click any widget to edit its content in the left panel, exactly like editing existing content.
Move it, or move on
- Reorder: drag the container by its handle (the dotted icon that appears at its top edge when you hover) to move the whole section up or down the page.
- Delete: right-click the container handle and choose Delete. If you delete the wrong thing, Ctrl+Z (Cmd+Z on Mac) brings it back, or see Undo mistakes in Elementor.
Save
- Click Publish (top-right) when you’re happy. Until you do, nothing is live.
A spacing tip
If your new section looks cramped or misaligned compared to its neighbours, click the container, open the Style tab, and look at padding. Most “this looks off” problems are spacing, and copying the padding values from the section above usually fixes it. If the layout fights back, send us a message rather than wrestling it.
Didn't work, or not sure?
No worries — that's what we're here for. Tell us what step you got up to and what you saw, and we'll sort it with you.