Create a new form in Gravity Forms
Need a new enquiry form, booking request or quote form? Gravity Forms does the heavy lifting. Here’s how to build one from scratch. It takes about five minutes.
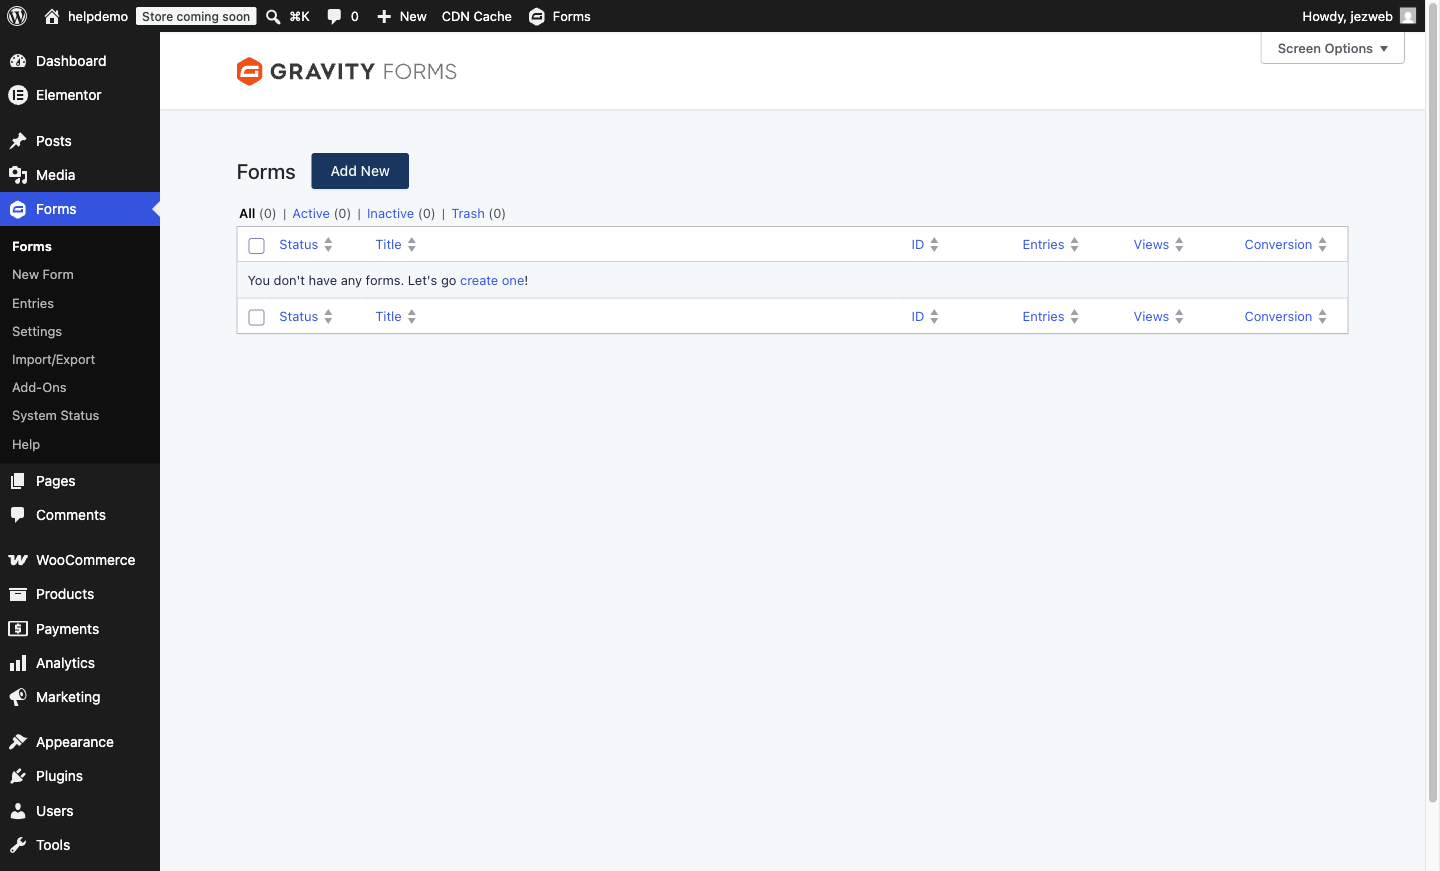
Start a new form
-
In your WordPress dashboard, go to Forms → New Form in the left menu.
-
A template gallery opens. Gravity Forms offers ready-made templates, but for most jobs Blank Form is the right start. Click it, give your form a clear name (e.g. “Quote Request”), and click Create Blank Form.
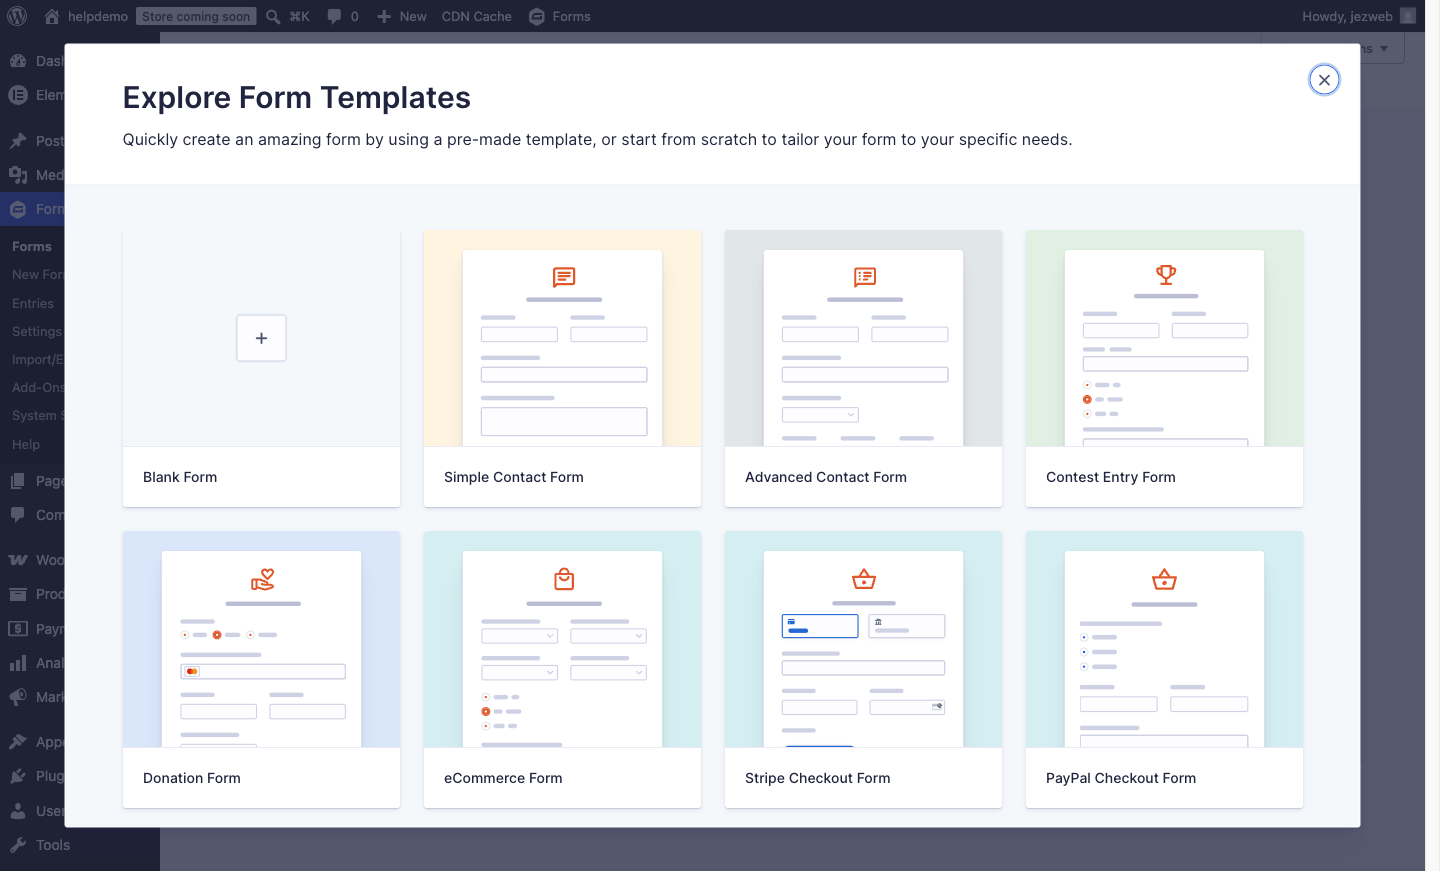
The form editor opens: your form canvas in the middle, and an Add Fields panel on the right.
Add your fields
-
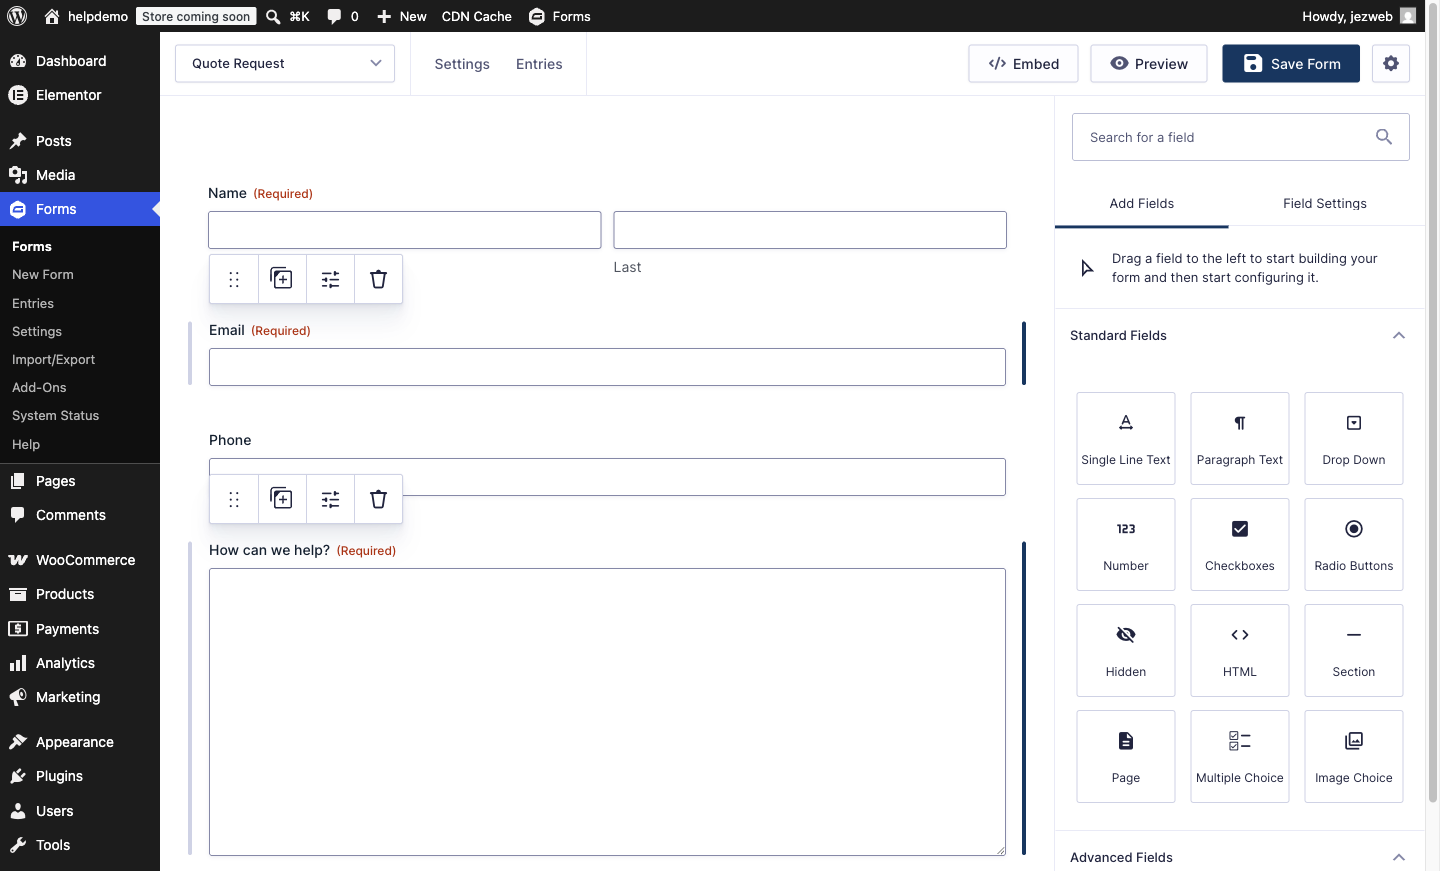
Click a field type in the right panel and it’s added to the form (you can also drag it to a precise spot). For a typical enquiry form you want:
- Name (under Advanced Fields) for their name
- Email (under Advanced Fields) for their email address
- Phone (under Advanced Fields) if you like to call back
- Paragraph Text (under Standard Fields) for their message
-
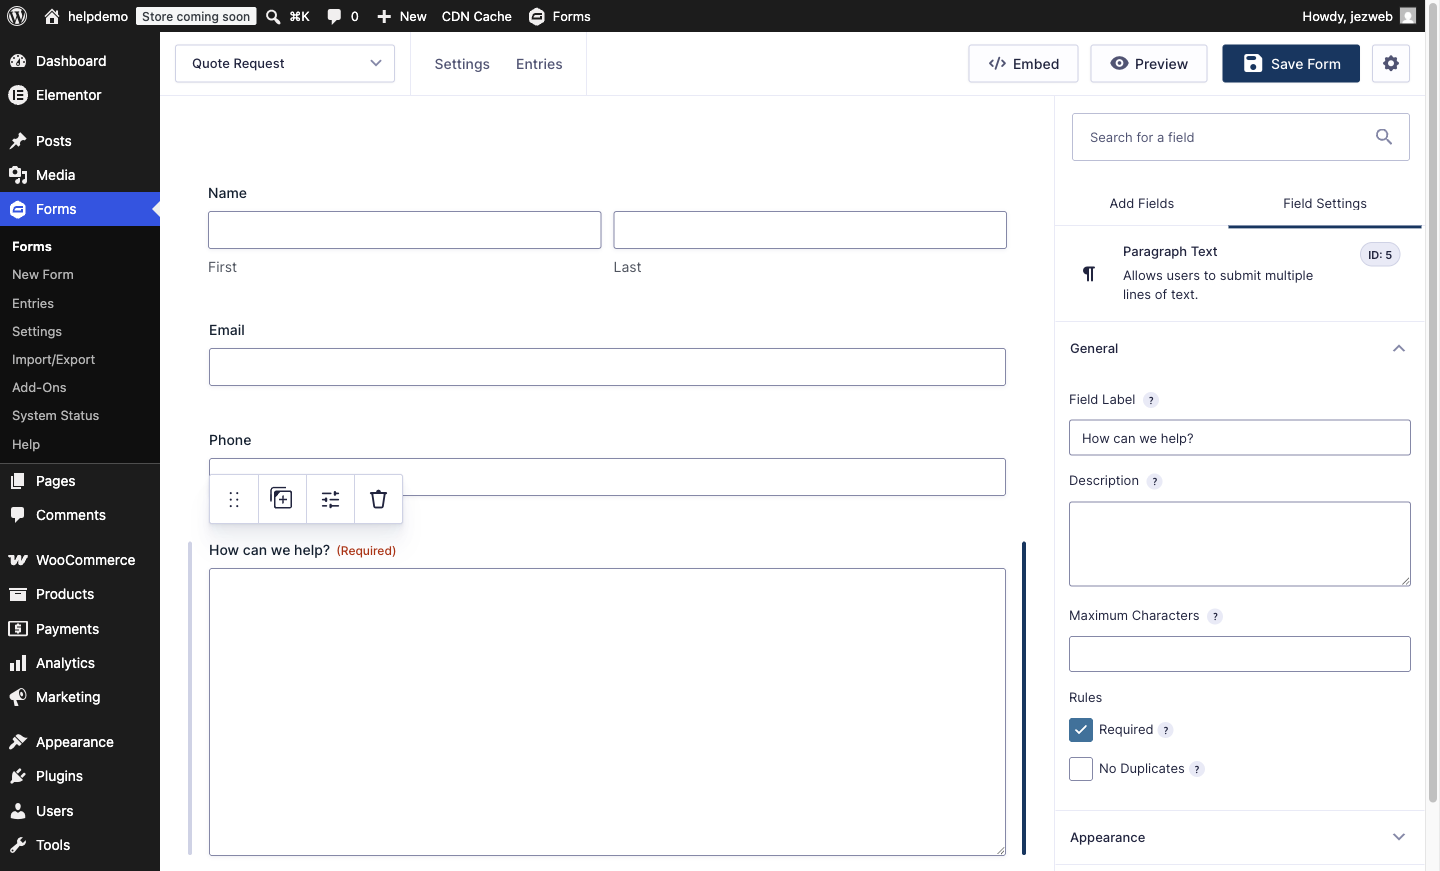
Click a field on the canvas to open its settings. Set the Field Label (what the visitor sees) and tick Required for anything you can’t work without. Name and email are usually required; phone is friendlier as optional.
Save it
- Click Save Form in the top-right. The form now exists, but it isn’t on your website yet. That’s a separate step: see Add a form to a page.
Two things worth doing next
- Check where submissions go. By default Gravity Forms emails the site admin address. See Change who gets form notification emails to point it at the right inbox.
- Set the thank-you message. The default is plain. See Change the form thank-you message.
Keep it short
Every extra field costs you submissions. Ask only for what you need to respond: a name, a way to reach them, and their message beats a ten-field interrogation every time. You can always ask follow-up questions when you reply.
Didn't work, or not sure?
No worries — that's what we're here for. Tell us what step you got up to and what you saw, and we'll sort it with you.