Add a new product in WooCommerce
Adding a product takes about two minutes once you know the form. Here’s the quick version for a simple (single) product.
Open the add product screen
Go to Products → Add new product in the left menu.
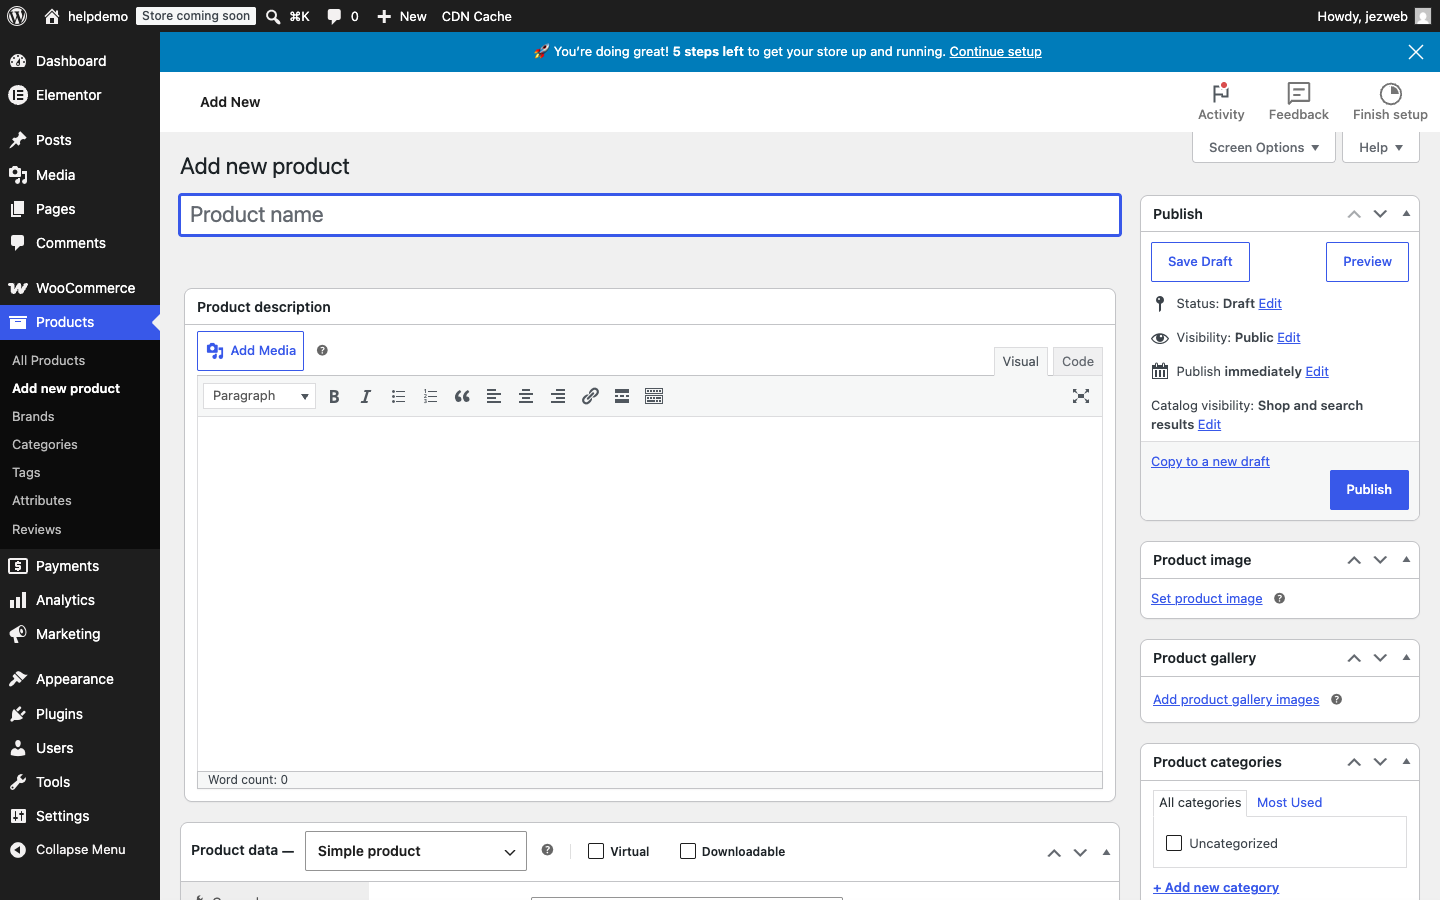
Fill in the basics
- Product name — type it in the large field at the top (e.g. “Demo Honey 500g”).
- Description — optional long description shown on the product page.
- Product image — in the right-hand panel, click Set product image and upload a photo from your computer.
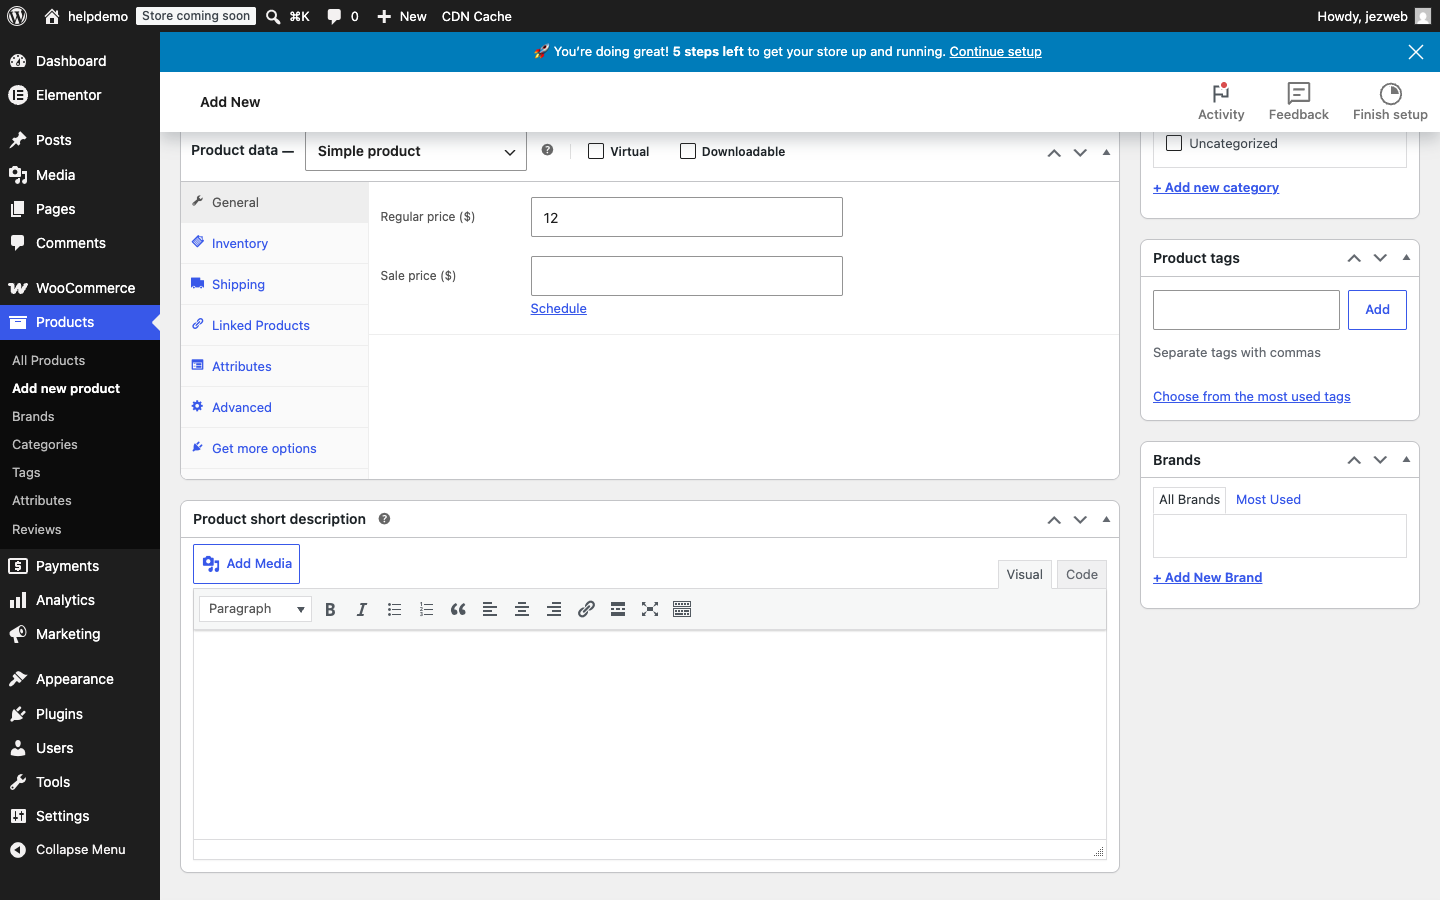
Set the price
Scroll down to the Product data section. You’ll be on the General tab by default.
- Regular price — the normal selling price (e.g. 12)
- Sale price — leave empty unless you’re running a promotion right now
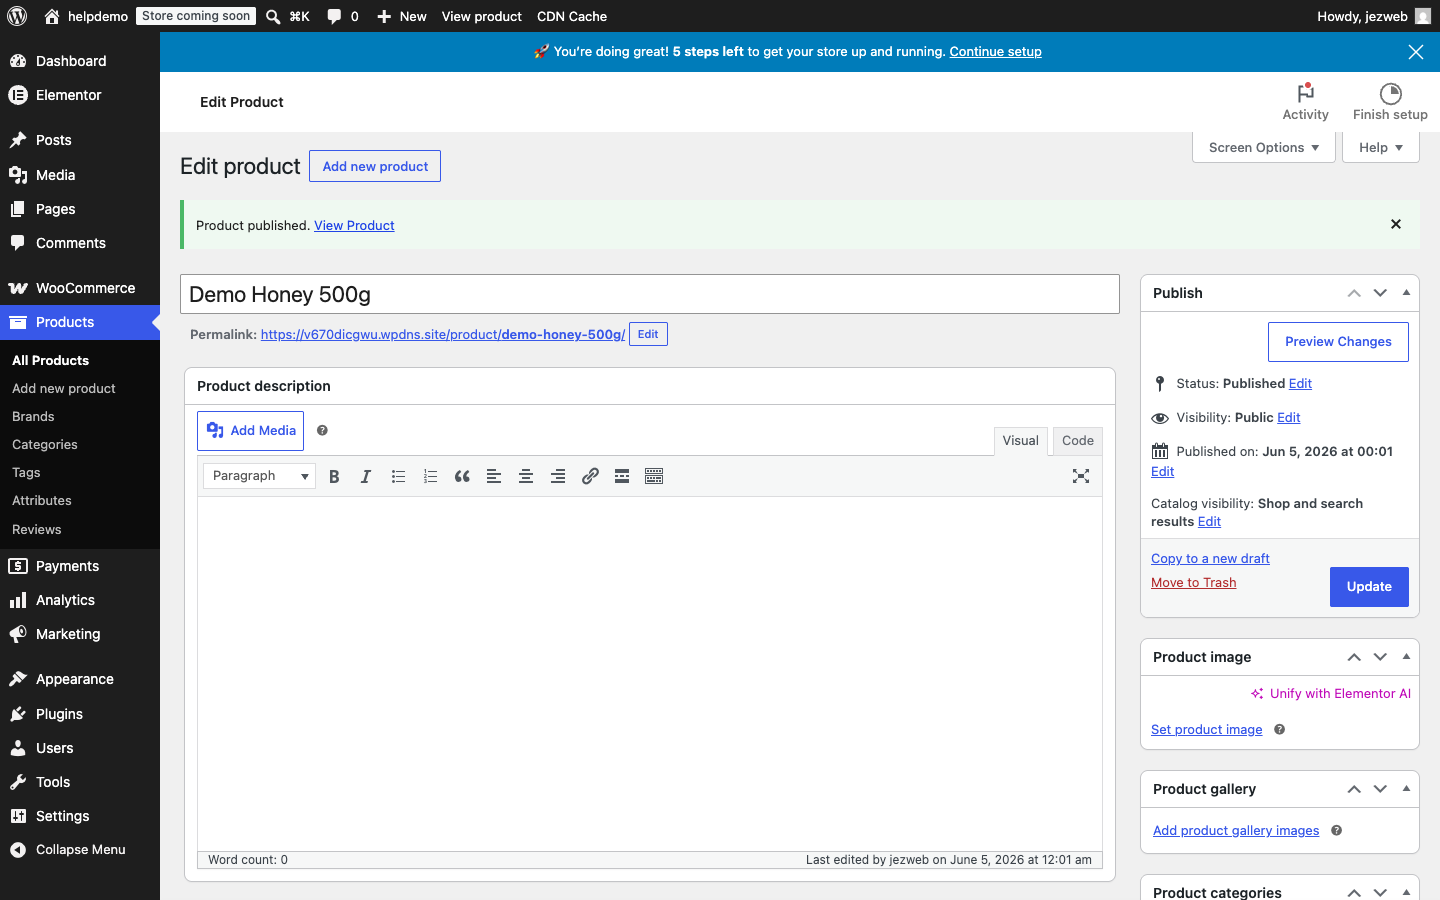
Publish
When you’re ready, click the blue Publish button in the top-right Publish panel. Your product goes live immediately and shows in your store.
If you want to prepare it without making it visible, click Save Draft instead — you can publish it later.
What about variations?
If your product comes in multiple sizes or colours (e.g. a shirt in S/M/L), you need a Variable product instead. Change the dropdown from Simple product to Variable product — or get in touch and we’ll set it up for you.
Didn't work, or not sure?
No worries — that's what we're here for. Tell us what step you got up to and what you saw, and we'll sort it with you.